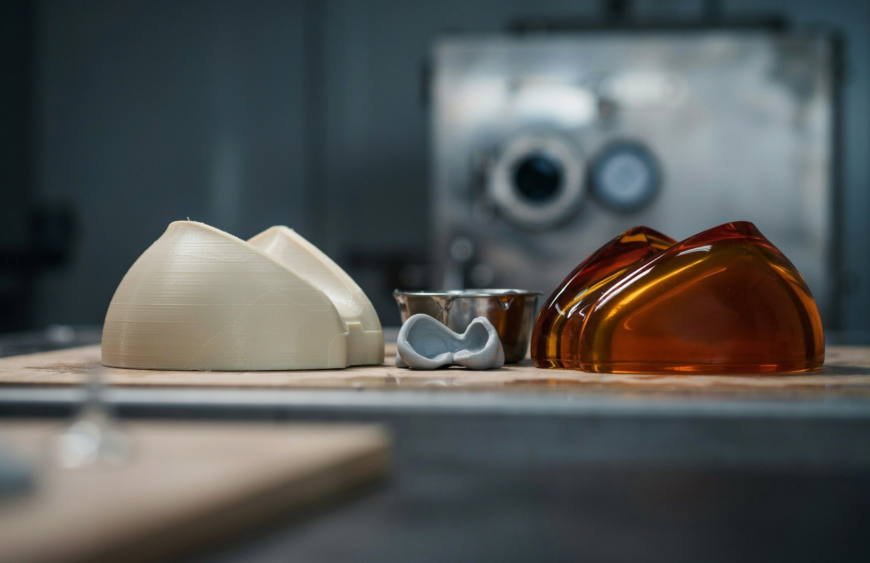
You should switch from 3D printing to vacuum casting when you need multiple identical parts, typically under 50 units, with a finish close to injection moulding, a wider choice of materials, and no hard tooling cost. Vacuum casting copies a 3D-printed master in silicone moulds, making it ideal for pre-production and short runs.
What Is Vacuum Casting, and How Is It Different from 3D Printing?
Vacuum casting is a low-volume manufacturing process that casts two-component polyurethane into silicone moulds. It produces plastic parts with finishes close to injection moulding, without the cost of hard tooling.
The process has four steps:
- Master model: A high-accuracy master is 3D printed, typically using SLA, and finished to the surface quality the final parts need.
- Silicone mould: Liquid silicone is cured around the master to capture its geometry and surface finish.
- Casting under vacuum: Polyurethane is cast into the mould inside a vacuum chamber. This removes air bubbles, so parts come out dense, precise and free of voids.
- Finishing: Parts move into post-processing.
So 3D printing still has a role: it builds the master. The switch is about how you make the copies.
Sign 1: Do You Need More Than a Handful of Identical Parts?
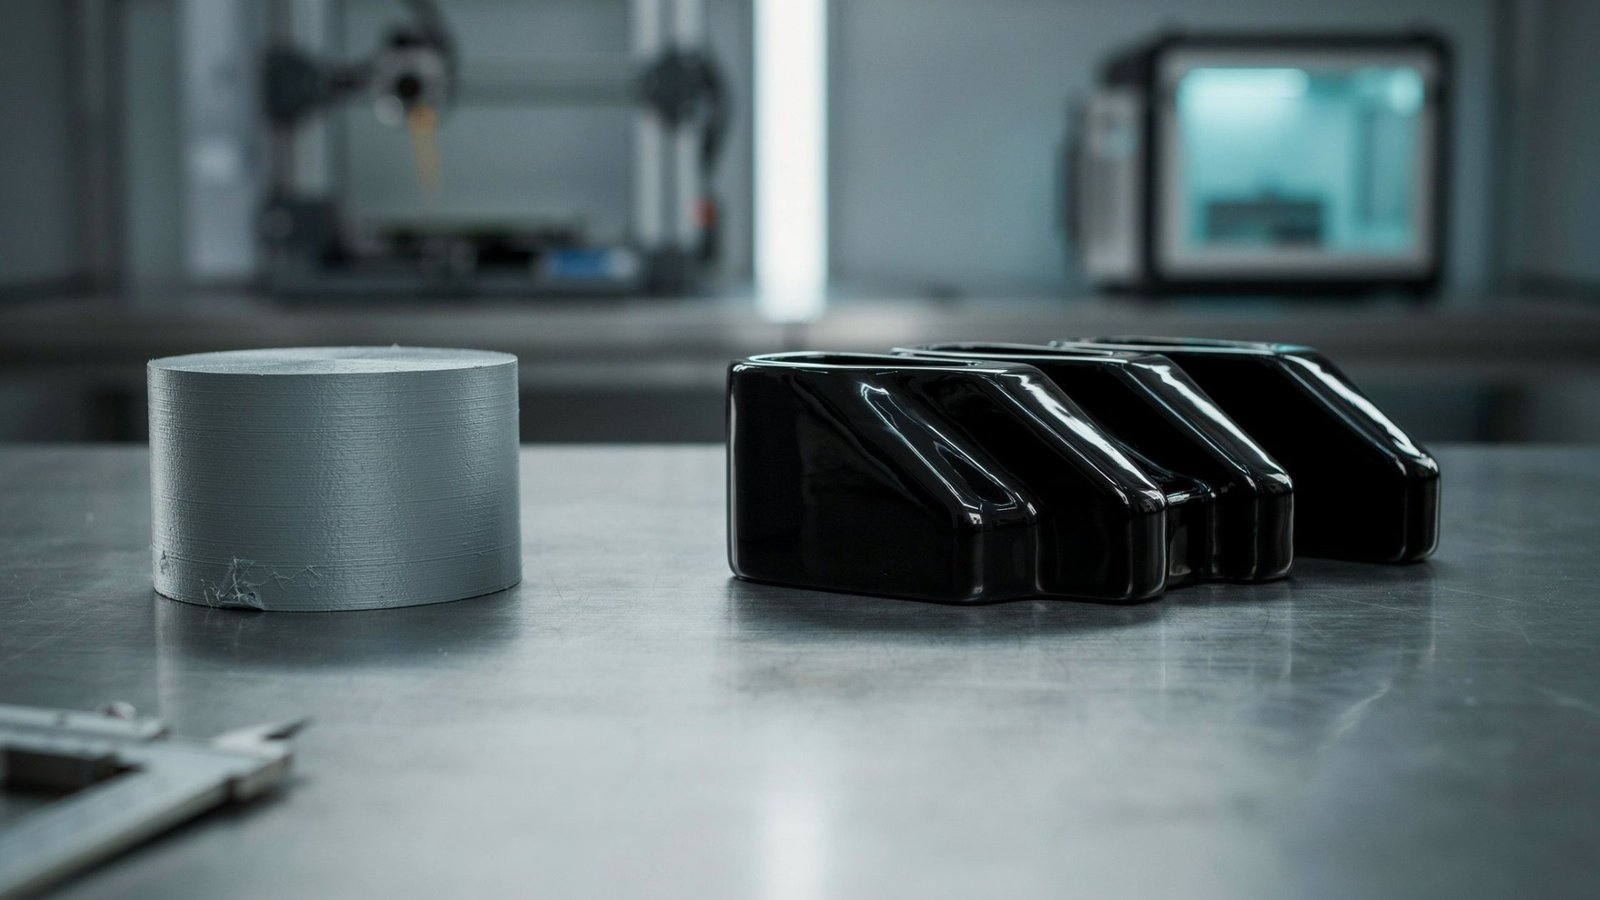
If your project has moved from one prototype to a batch for testing, sampling or a limited release, you are in vacuum casting territory.
It is ideal for runs under about 50 units, since there is no steel or aluminium tooling to cut. Each silicone mould produces around 20 to 25 casts, and new moulds are made from the same master for larger quantities.
Sign 2: Does Your Part Need an Injection-Moulded Finish?
Appearance matters when a part goes to a design review, a customer or a stakeholder demo. Vacuum casting delivers intricate details at exceptional resolution, and the quality of the master carries through to every cast part.
Cast parts can then be finished to match your final product. Options include painting, sand blasting, electroplating, hydro-dipping and insert installation, all available through post-processing.
Sign 3: Are Material Choices Holding You Back?
Vacuum casting uses polyurethane resins engineered to behave like common production plastics. Options include:
- ABS
- Polycarbonate (PC)
- Polypropylene (PP)
- Rubber
- PMMA (acrylic)
- Glass-filled materials
- Wax, for investment casting patterns
Resins come in rigid, flexible, transparent, and colored grades. That helps when you need a clear electronics housing or flexible robotic grippers, where both function and look matter.
Sign 4: Are You Testing the Market Before Committing to Tooling?
Pre-production parts for market evaluation are one of the best uses of silicone moulding. Many teams use casting as a stepping stone, testing and refining a design in small numbers before investing in production tooling.
The decision usually comes down to quantity. For large production runs, injection moulding becomes the more economical choice. For a detailed comparison, see this guide on vacuum casting vs injection moulding for low-volume runs.
Sign 5: Is Your Design Still Changing?
Design changes are quick and inexpensive in vacuum casting: you just remake the master. With injection moulding, changes become costly once tooling is cut.
That flexibility suits teams in several fields:
- Automotive: fit checks and design reviews before production tooling is approved
- Medical technology: device housings for form, fit, and usability testing
- Robotics: covers and enclosures for prototype robots
- Toys and consumer products: pre-production samples and limited-edition runs
When Should You Not Switch?
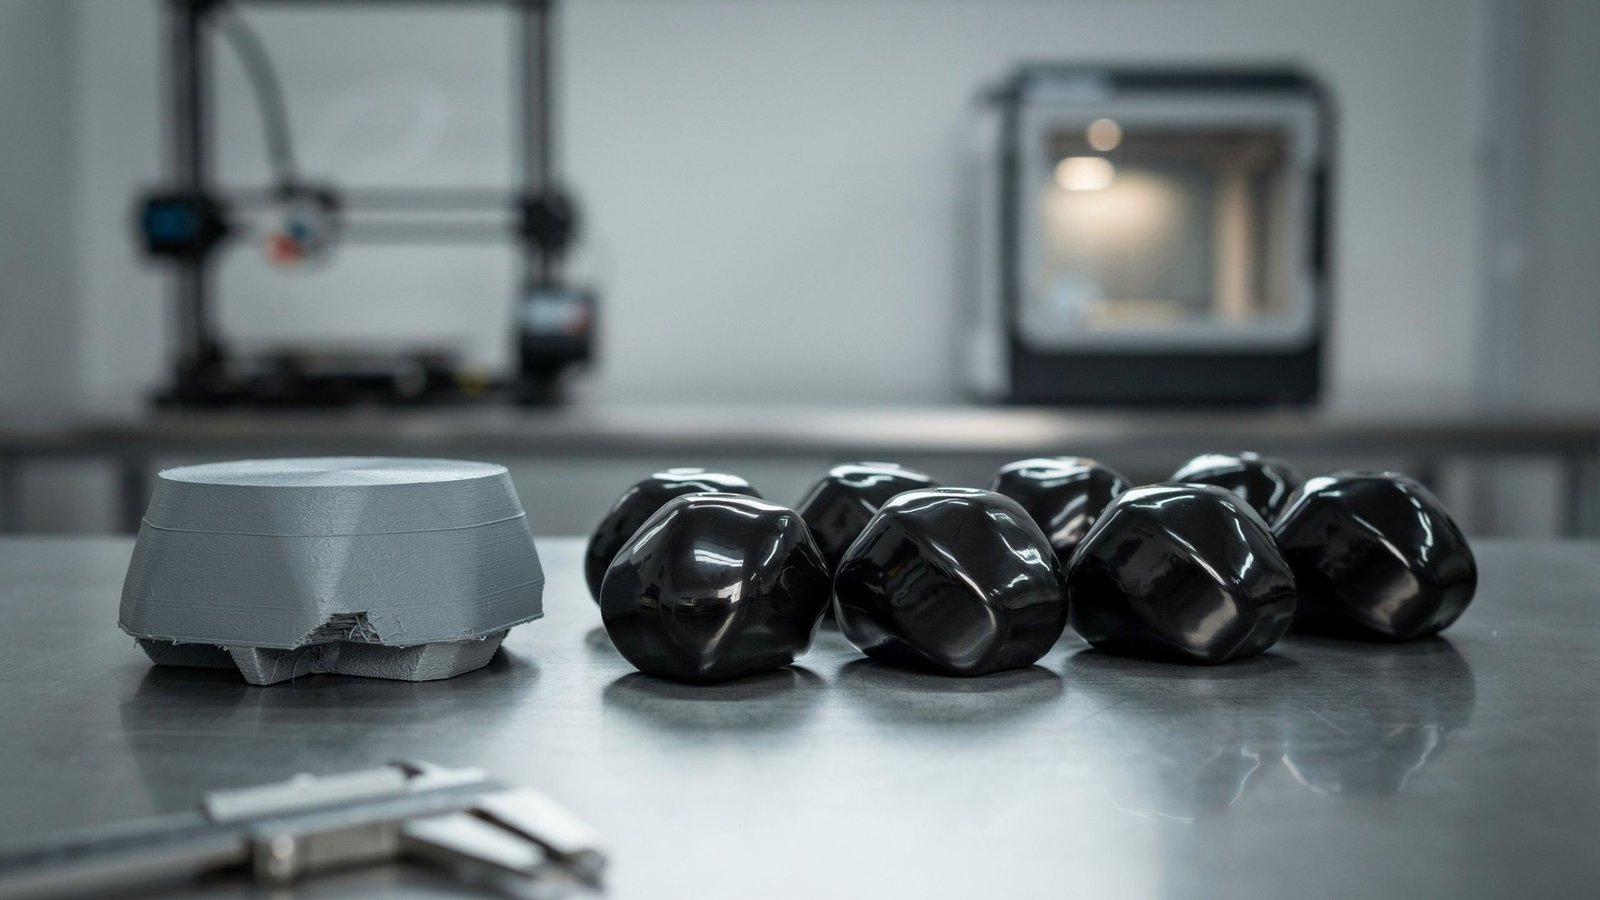
Stay with 3D printing if you only need one part.
If you need a single part to check form, fit, or function, a 3D-printed part may be all you need.
Move to injection moulding if volumes are large.
Vacuum casting is built for low volumes. Once your quantities grow well beyond that, injection moulding is the more economical route.
Conclusion
If you need repeatable, production-quality plastic parts in small numbers, vacuum casting is the logical next step after 3D printing. Tesseract operates from Mumbai and Boisar and covers design, SLA master models, casting and in-house finishing under one roof.
Ready to move from prototype to production-quality parts? Upload your design for an instant quote, call +91 81698 12438, or talk to the Tesseract team to get the right material and finish recommended for your project.
Frequently Asked Questions
What is vacuum casting?
Vacuum casting is a low-volume manufacturing process that casts two-component polyurethane into silicone moulds made from a 3D-printed master, typically SLA. The resin is cast under vacuum to remove air bubbles, producing parts with a finish close to injection moulding.
When should I switch from 3D printing to vacuum casting?
Switch when you need multiple identical parts, usually under 50 units, with a finish close to injection moulding and no investment in hard tooling. It suits pre-production testing, market evaluation samples and short production runs, using a 3D-printed master to cast every copy.
How many parts can one silicone mould make?
Each silicone mould produces around 20 to 25 casts. If you need more, new moulds are made from the same master. That is why vacuum casting works best for runs under about 50 units, before injection moulding becomes the more economical choice for larger production quantities.
Which materials are available for vacuum casting?
Vacuum casting uses polyurethane resins engineered to mimic common production plastics, including ABS, polycarbonate, polypropylene, rubber, PMMA and glass-filled materials, plus wax for investment casting patterns. Grades are available in rigid, flexible, transparent and coloured options to suit functional and visual needs.
How long does vacuum casting take?
Turnaround depends on part complexity and quantity, but typically ranges from 5 to 10 days. This includes mould creation from your master model and casting the required number of parts, making it significantly faster than traditional manufacturing methods.