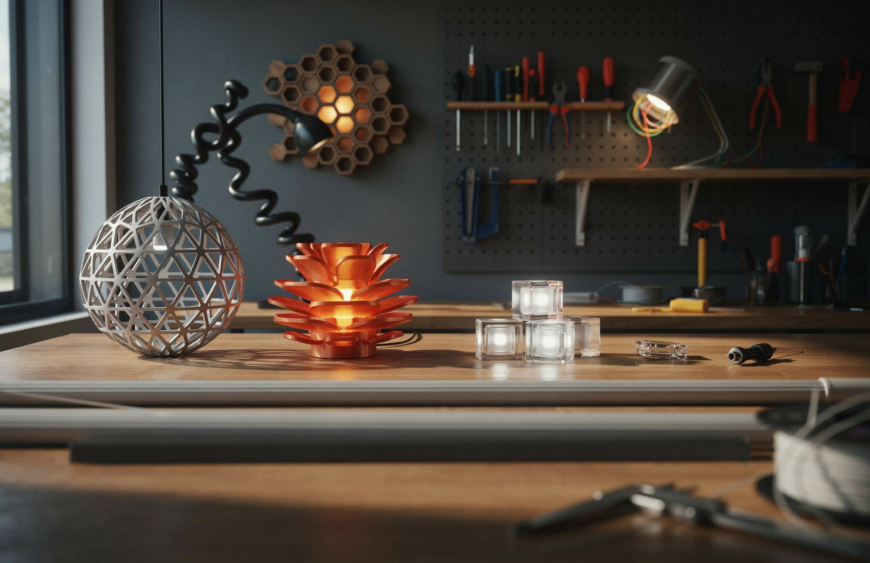
3D printing is used in the lighting industry for rapid prototyping, custom fixture design, functional enclosures, reverse engineering, pre-production tooling and finished display pieces. It turns digital designs into physical parts quickly, so designers can test shape, fit and finish before committing to costly manufacturing.
Lighting products combine form, electronics and light behaviour. That makes early physical testing valuable. Here are six practical ways 3D printing supports that process.
1. How Does Rapid Prototyping Speed Up Lighting Design?
Rapid prototyping lets designers hold a lamp or fixture in their hands within days instead of weeks. Tesseract 3D notes that most projects are completed within 2 to 7 days, depending on complexity and technology.
Teams can print a housing, check how parts assemble, and adjust proportions. If something looks off, they edit the CAD file and print again. This reduces guesswork before production begins.
2. Can 3D Printing Create Custom and Decorative Lighting?
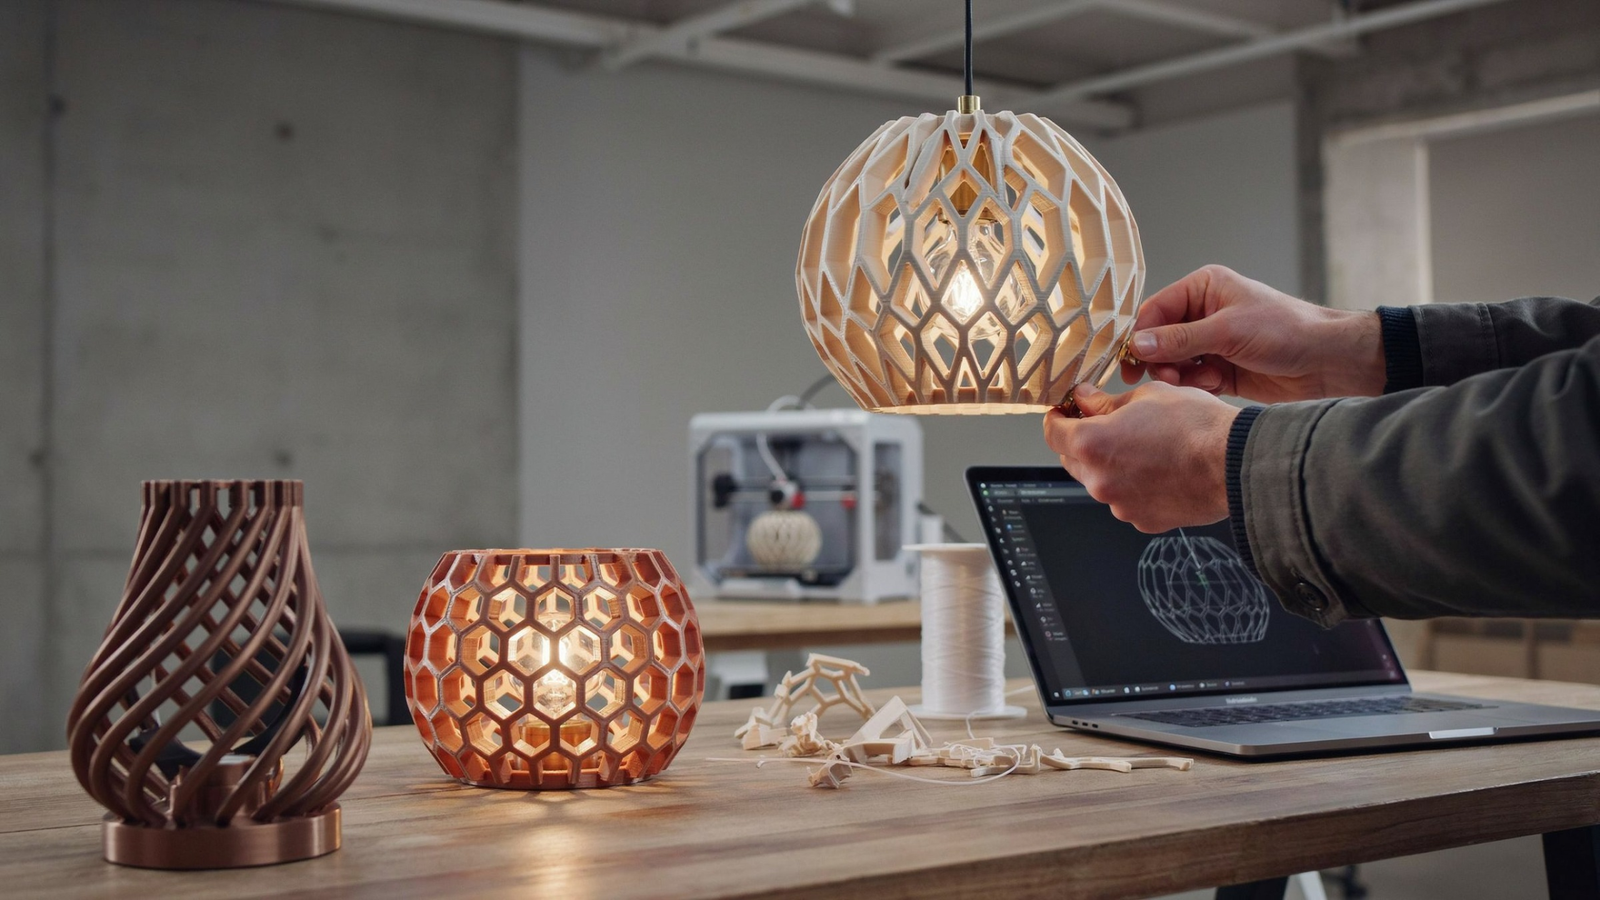
Yes. Custom lighting design is a natural fit because 3D printing builds complex shapes directly from a digital model, with no moulds required for a single piece.
Different technologies suit different looks. Tesseract 3D offers FDM, SLA, SLS, DLP, PolyJet and MultiJet Printing. In one of their projects, FDM printed the structural base while SLA resin captured fine facial details. Combining processes this way shows how a piece can balance strength and detail.
Which materials suit light-related parts?
Tesseract 3D’s range includes PLA, ABS, PETG and TPU filaments, plus glass/translucent PETG and PLA colours. Translucent options are worth discussing for parts that interact with light, such as decorative shades or covers.
3. How Are Housings and Enclosures 3D Printed?
Every light needs a body that protects its internals. 3D printing is useful for printing housings, brackets and cases, especially in low volumes or for test units.
Tesseract’s eStore lists IP65 ABS junction boxes and IP55 ABS IoT enclosures, which shows how enclosure-style parts fit into their range. They also list flame-retardant ABS among their engineering filaments, a material to discuss for fixtures where heat is a concern. The company also offers electronics and PCB designing, which helps when a housing must be developed alongside its circuitry.
4. Is 3D Printing Useful for Reverse Engineering Lighting Parts?
Yes. If a fixture part is discontinued or only exists as a sample, 3D scanning and reverse engineering can rebuild it digitally. Tesseract 3D also provides 2D to 3D conversion and 3D CAD modelling.
This helps manufacturers and designers recreate a component or turn a hand sketch into a production-ready model. It saves time compared with measuring and redrawing everything manually.
5. How Does 3D Printing Bridge Prototyping and Manufacturing?
A prototype is only the first step. Once a design is approved, teams often move to other methods. Tesseract 3D also provides vacuum casting, injection moulding, CNC machining, sheet metal fabrication and metal casting.
Their team also offers DFM (design for manufacturing) consulting. Reviewing a design this way can flag issues before it moves to larger production runs. 3D printing becomes the testing ground, and the proven design moves on to the right manufacturing process.
6. Can 3D Printing Handle Finishing, Display Pieces and Scale Models?
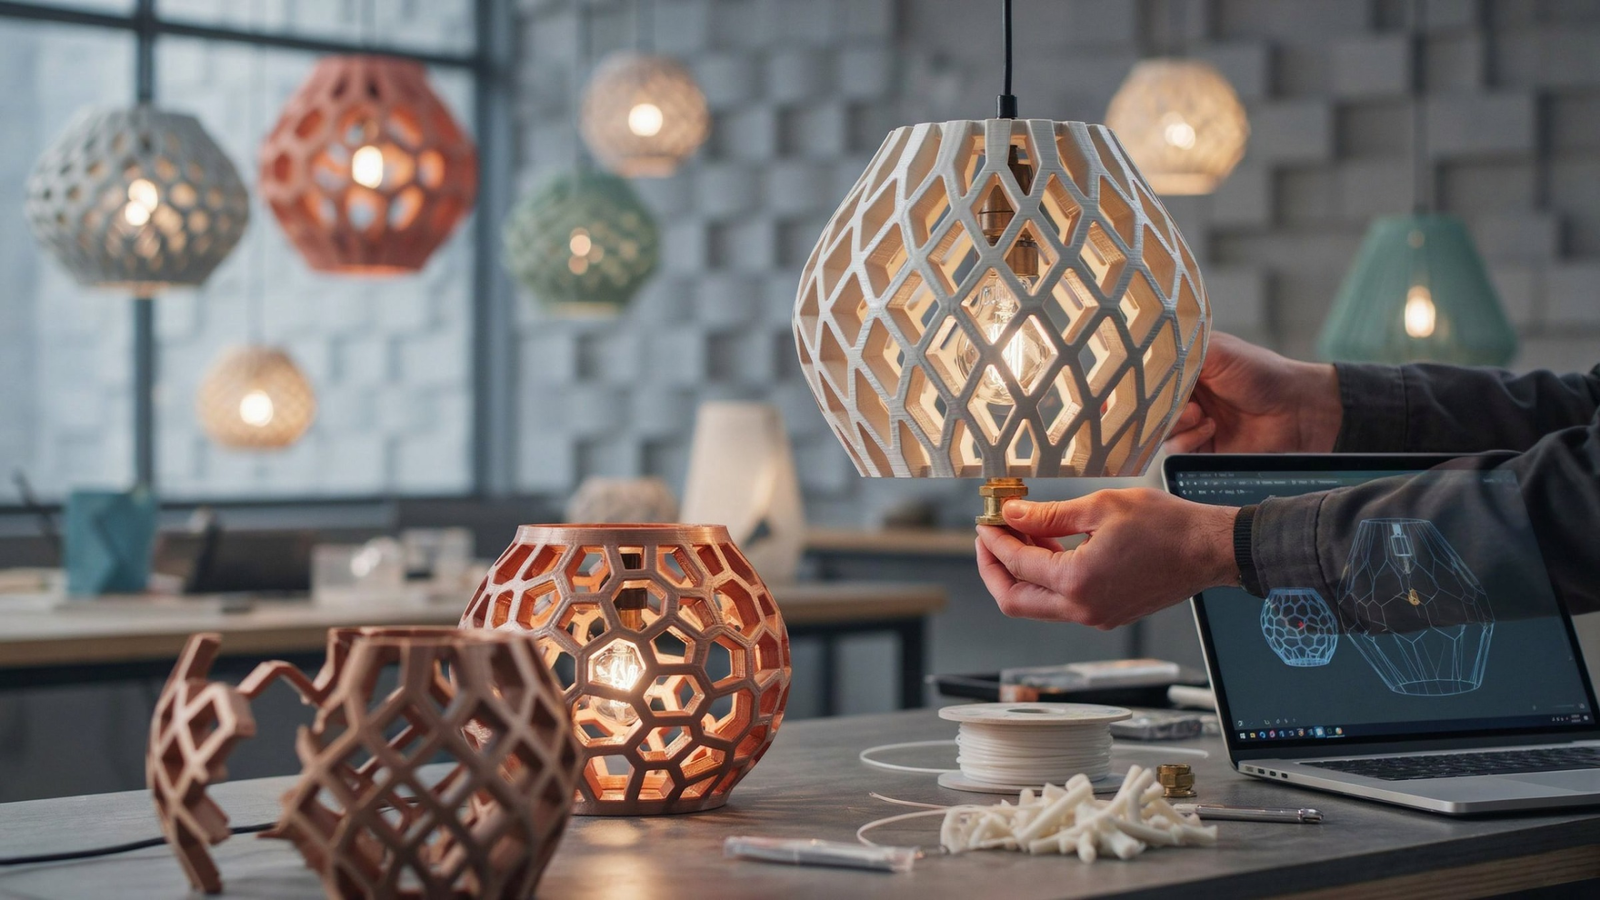
Appearance matters in lighting, so finishing is part of the job. Tesseract 3D offers post-processing, and its project examples include painting, stickers and chroming. One trophy project had a chromed central section while other components were painted and assembled.
The same capability supports presentation models. Tesseract also serves architecture, art and design, and consumer industries. A finished, painted model helps clients and stakeholders visualise a lighting concept before it is built.
Conclusion
3D printing helps lighting teams move from idea to physical product faster. It supports prototyping, custom design, enclosures, reverse engineering, manufacturing handover and finishing, all from one digital workflow.
Ready to test your lighting concept? Upload your design and get a free quote from a trusted 3D printing service in Mumbai.
Frequently Asked Questions
What is 3D printing used for in lighting?
It is used for prototypes, custom fixtures, housings, replacement parts and display models. Designers can test form, fit and assembly quickly, then refine the design before moving to larger manufacturing runs such as injection moulding.
Which 3D printing technology is best for lighting prototypes?
It depends on the part. FDM suits structural pieces, while SLA captures fine detail. Tesseract 3D offers FDM, SLA, SLS, DLP, PolyJet and MJP, so the right process can be matched to the design’s needs.
How long does it take to 3D print a lighting prototype?
Tesseract 3D states that most projects are completed within 2 to 7 days. Timing depends on complexity and the chosen technology, and expedited services are available for urgent deadlines.
Can I get a lighting part made without a 3D file?
Yes. Tesseract 3D offers 3D CAD modelling, reverse engineering and 2D to 3D conversion. Their team can turn sketches, samples or concepts into production-ready 3D models before printing.
What files can I upload for a quote?
Tesseract 3D accepts .STL, .STEP, .STP, .IGES, .OBJ, .PNG and .JPEG files up to 25MB. You can upload your design to request a free instant quote.