You can reduce product development costs without compromising quality by fixing design issues early, validating ideas with low-cost prototypes, choosing the right process for each stage, and working with one partner from design to manufacturing. Catching problems before tooling and production keeps budgets under control while protecting performance.
Why Do Product Development Costs Escalate?
Most overspending comes from late discoveries. A part that cannot be manufactured easily, a fit issue found after tooling, or a design revised three times because feedback came too late. Each change costs more the further you are into development.
Disconnected vendors add to the problem. When design, prototyping and production sit with different suppliers, files get re-interpreted, communication slows down, and errors multiply. The fix is a smarter process, not cheaper materials or skipped testing.
How Can You Cut Costs Without Cutting Quality?
1. Start with Design for Manufacturing (DFM)
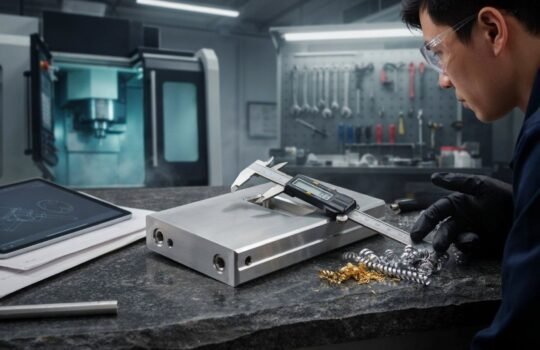
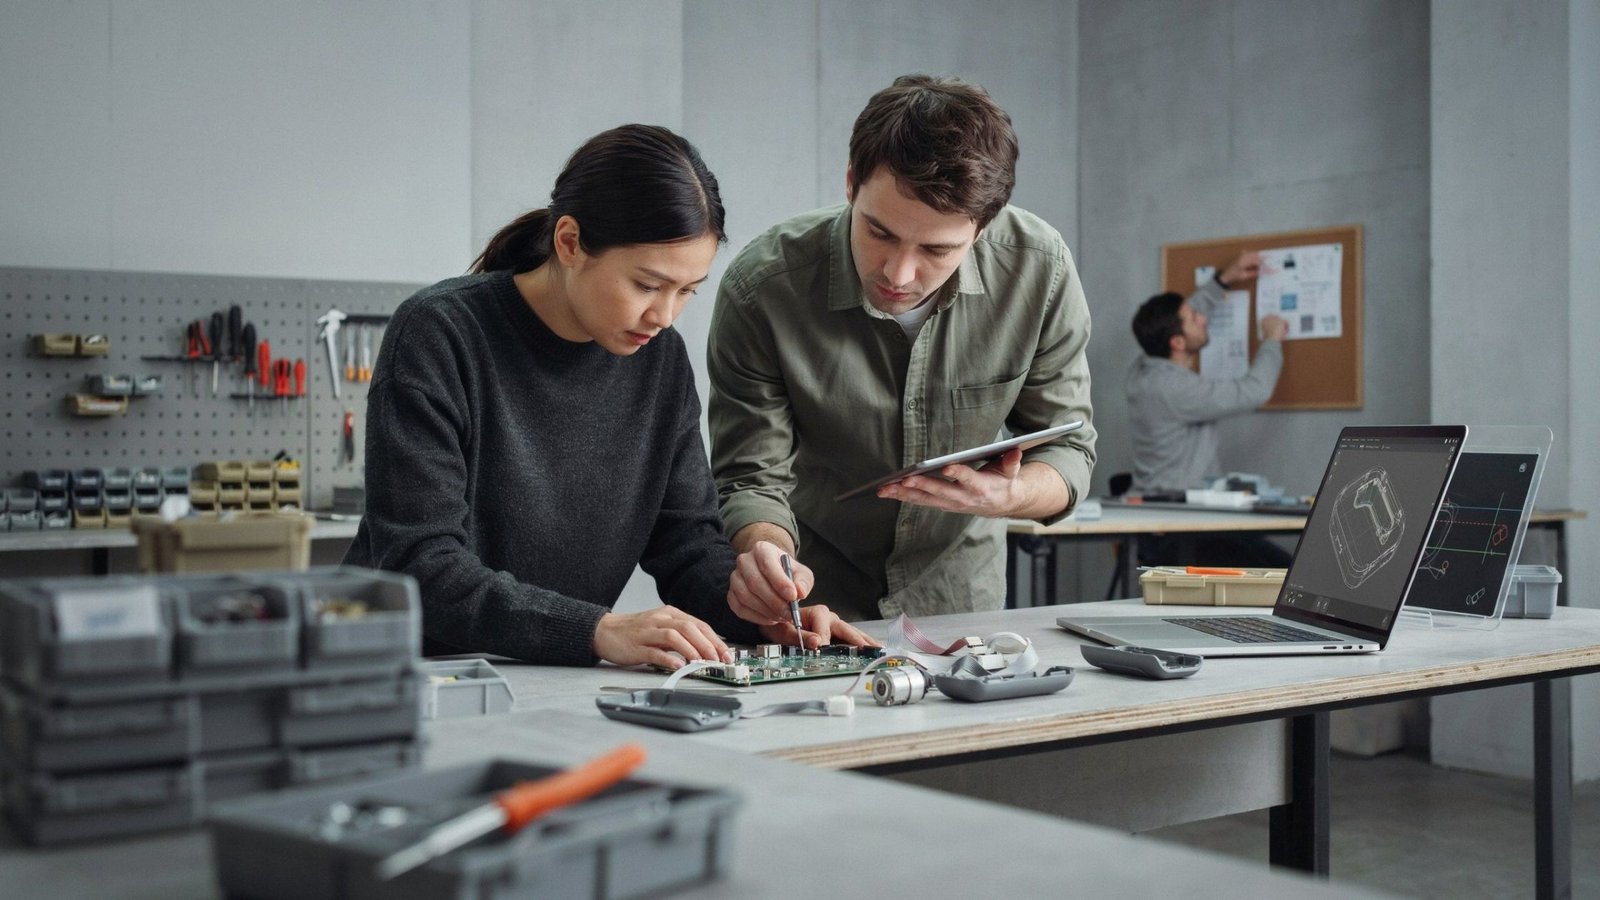
DFM means designing a part so it can be produced efficiently with your chosen process. Simple adjustments to geometry, wall thickness or material selection can prevent expensive rework later.
Tesseract lists DFM problem solving and consulting among its core strengths. Bringing in that expertise early, ideally through professional product designing support, lets you resolve manufacturability questions on screen instead of on the shop floor.
2. Prototype Early and Often with 3D Printing
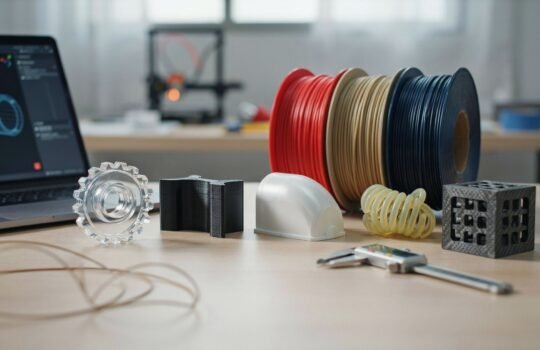
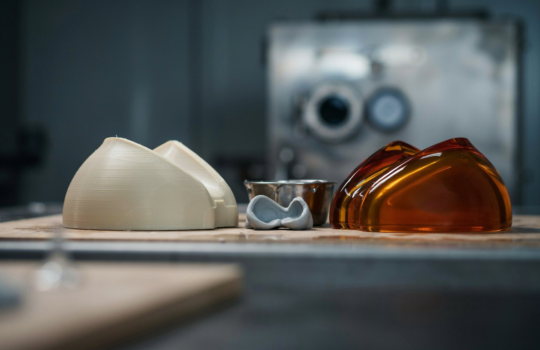
Physical prototypes expose problems that CAD models hide, such as ergonomics, assembly fit and visual appeal. 3D printing makes this practical because you can go from file to part quickly, without building tooling first.
Tesseract’s FAQ states that most projects are completed within 2 to 7 days, depending on complexity and technology. That speed lets you test several design iterations in the time a traditional process might deliver one. For concept models and functional checks, FDM 3D printing is a practical starting point.
3. Match the Technology to the Stage
Not every prototype needs to be perfect. Early models can focus on shape and fit, while later ones need accurate finish and material behaviour. Using a premium process for every iteration wastes budget.
Tesseract offers FDM, SLA, SLS, DMLS, DLP and PolyJet printing, plus CNC machining. That range lets you choose a lower-cost option for early checks and a more refined one for final validation. Post-processing such as sanding and finishing can then be added only where appearance matters.
4. Bridge the Gap Before Full Production
Jumping straight to injection moulding means committing to tooling before the design is proven. A better route is to produce small batches first, so you can test the market and confirm the design.
Vacuum casting is one option for small runs of production-like parts. Once the design is stable, you can move to injection moulding, compression moulding or other volume processes with far more confidence.
5. Keep Design, Prototyping and Manufacturing Under One Roof
A single partner removes repeated file handovers and conflicting interpretations. Tesseract describes itself as a product development partner covering design, prototyping and manufacturing. Its services include product design, 3D scanning and reverse engineering, CNC machining, sheet metal fabrication, metal casting, electronics and PCB design.
Fewer handovers mean faster decisions and fewer surprises, and both protect quality.
What Does This Look Like in Practice?
Speed does not have to mean lower quality. Tesseract shared a project on its Instagram feed where a customised VIP trophy for INOX moved from concept to delivery in 7 days. The process included rapid design exploration, CAD modelling, precision manufacturing and a premium metallic finish.
The lesson applies to any product: when design and production work together, timelines and costs shrink without cutting corners.
Which Mistakes Drive Up Product Development Costs?

- Skipping prototypes to save money, then paying more for tooling changes.
- Over-specifying early models with expensive finishes and materials.
- Choosing a process before finalising the design, which forces redesigns.
- Using separate vendors for every stage, which creates delays and miscommunication.
- Not asking for a quote early, which leaves cost surprises for the end.
Conclusion
Lowering product development costs is about making better decisions earlier: design for manufacturability, prototype fast, match processes to each stage, and keep everything with a partner who understands the full journey.
Ready to move your idea forward? Get a free instant quote from Tesseract by uploading your design, and see how quickly it can become a real, tested product.
Frequently Asked Questions
How can I reduce product development costs quickly?
Start with design for manufacturing, build low-cost 3D printed prototypes, and test before investing in tooling. Catching errors early is the fastest way to lower spending, because every late change costs more in time, material and rework.
Does cheaper prototyping mean lower quality?
No. Quality depends on choosing the right process for the stage. Early prototypes can use simpler technologies to check form and fit, while final validation uses finer processes and finishing. You pay for precision only when it matters.
How long does 3D printing take for prototypes?
According to Tesseract3D, most projects are completed within 2 to 7 days, depending on complexity and technology. Expedited services are available for urgent deadlines, so faster design iterations are possible without waiting weeks for each version.
Which 3D printing technologies are suitable for prototyping?
FDM, SLA, SLS, DMLS, DLP and PolyJet are all used for prototyping. The right one depends on your needs: FDM suits concept models, SLA offers detailed finishes, and DMLS produces metal parts. Match the technology to your testing goal.
When should I move from prototyping to injection moulding?
Move to injection moulding after your design is tested, stable and ready for volume production. Bridging with small-batch options such as vacuum casting first helps confirm the design and reduces the risk of costly tooling modifications.