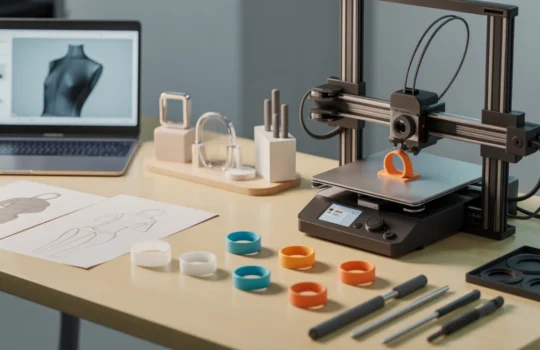
You’ve just finished printing your latest 3D model, but it looks rough with visible layer lines. Raw 3D prints rarely look professional straight off the print bed. The good news? The right finishing methods in 3D prints can transform your projects from amateur to expert-level. This guide covers five proven techniques that deliver professional results every time.
1. Sanding: The Foundation of Smooth 3D Prints
Sanding is the most basic yet essential finishing method. Start with 200-grit sandpaper to remove obvious layer lines. Then progress through higher grits for a smooth surface.
Key steps for effective sanding:
- Begin with coarse grit (200-400) for major imperfections
- Progress to medium grit (800-1500) for smoothing
- Finish with fine grit (2000-3000) for polishing
- Use wet sanding to prevent dust
This method works great for PLA, ABS, and PETG materials. Most prints need 15-30 minutes of sanding.
2. Vapor Smoothing for Glossy Finish
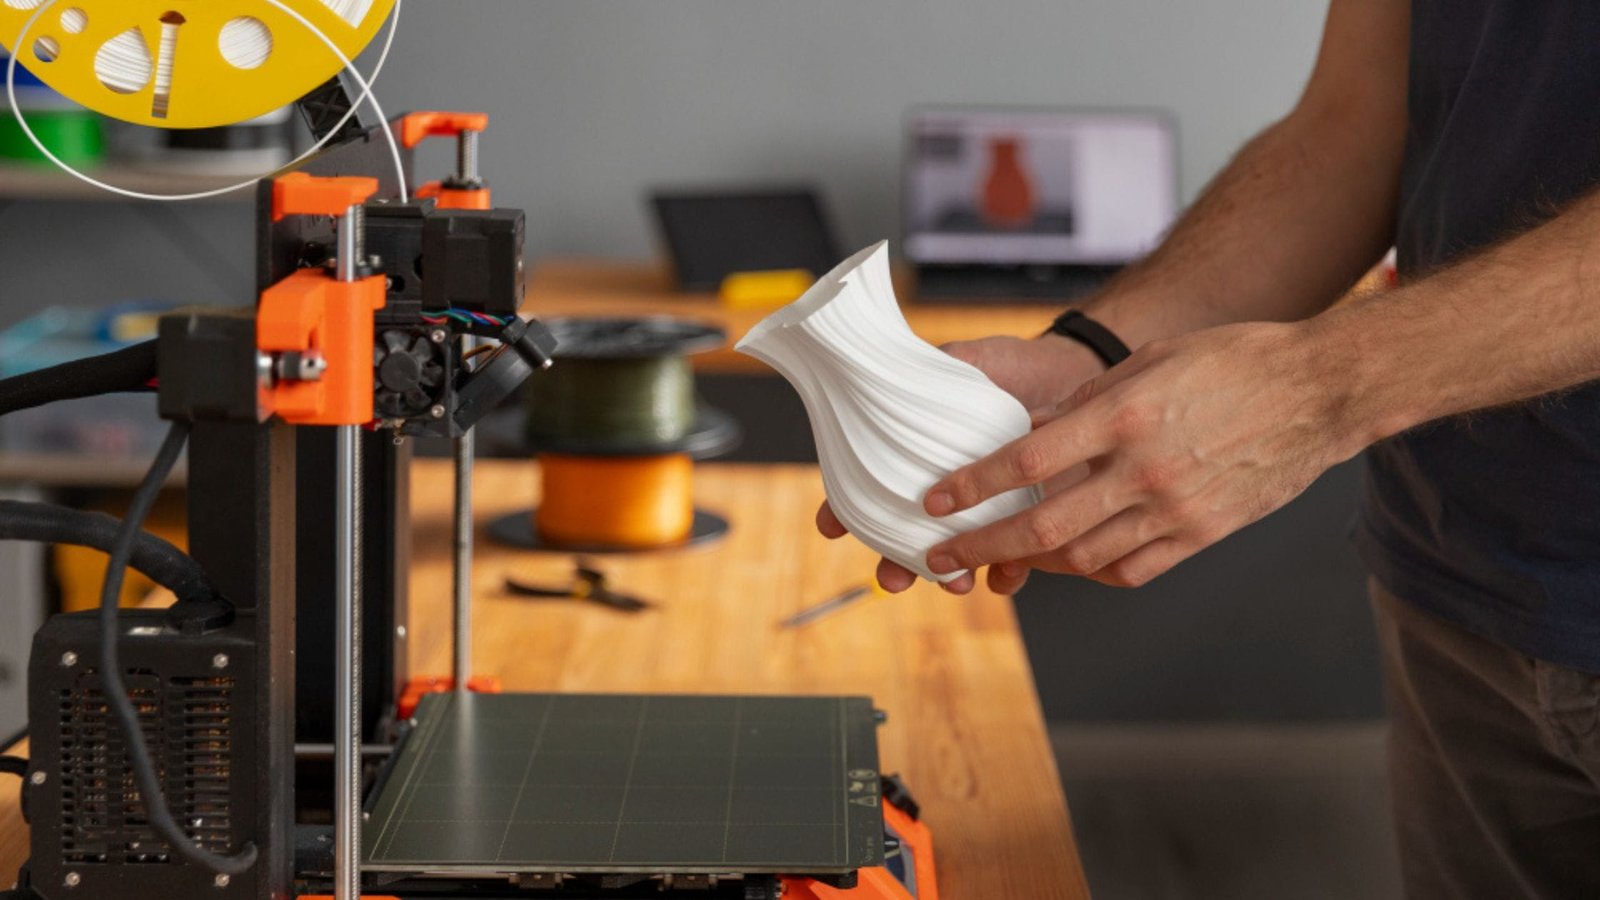
Vapor smoothing creates a glass-like surface without manual work. This technique works best with ABS and ASA 3D prints.
Important considerations:
- Use a glass or metal container with acetone
- Place the print on the platform above the acetone
- Monitor every 5-10 minutes
- Remove when the desired smoothness is reached
- Allow 24 hours for acetone evaporation
The process takes 30-60 minutes, depending on print size. Always use proper ventilation and safety equipment.
3. Primer and Paint Application
Painting transforms any 3D print into a professional piece. Start by applying automotive filler primer after sanding.
Painting process breakdown:
- Clean print with isopropyl alcohol
- Apply 2-3 thin primer coats
- Sand lightly between coats with 400-grit
- Apply acrylic or enamel paints
- Seal with a clear coat for protection
This method enhances appearance instantly and hides minor imperfections you might have missed during sanding.
4. Epoxy Resin Coating
Epoxy coating creates an ultra-smooth, durable finish. Mix two-part epoxy according to package instructions.
Steps for perfect epoxy application:
- Mix resin and hardener in exact ratios
- Apply with a foam brush for even coverage
- Use a heat gun to pop surface bubbles
- Allow a full 24-48 hours curing time
This method works perfectly for display pieces and decorative 3D prints. It delivers premium results.
5. Filler Primer Method
Filler primer offers the fastest path to professional results. This spray-on product fills layer lines as you apply it.
Filler primer application tips:
- Shake the can for 2 minutes before use
- Spray from 8-10 inches away
- Apply 2-3 thin coats
- Sand with 320-grit between layers
- Wait 15-20 minutes between coats
It’s perfect for large 3D prints where hand-sanding would take hours. The filler primer creates an excellent base for painting, too.
Pro Tips for Best Results

Clean your prints thoroughly before starting any finishing method. Combine multiple methods for superior quality.
Additional expert recommendations:
- Remove support marks with flush cutters first
- Fill large gaps with wood filler
- Wear gloves to prevent oil transfer
- Use a tack cloth to remove sanding dust
- Work in temperatures between 65-75°F
- Test new techniques on small prints first
Work in a dust-free, well-ventilated environment for safety and better results.
Common Materials and Best Finishing Methods
PLA prints: Sanding + filler primer + paint works best.
ABS prints: Vapor smoothing gives the fastest professional results.
PETG prints: Sanding and painting recommended. Start with higher grit.
Resin prints: Light sanding with 800-grit and clear coat is usually sufficient.
FAQs
Q1: What is the fastest finishing method for 3D prints?
Filler primer offers quick results in under an hour. For ABS prints, vapor smoothing is equally fast.
Q2: Can I skip sanding when using other finishing methods?
Sanding improves all finishing techniques. At a minimum, do light sanding to improve adhesion.
Q3: Which finishing method works best for functional parts?
Epoxy coating provides durability and a smooth finish for functional 3D prints that need strength.
Q4: Are finishing methods safe to use at home?
Yes, except vapor smoothing requires extra caution. Use proper ventilation and safety gear for all methods.
Conclusion
Professional-looking 3D prints aren’t magic—they’re the result of proper finishing techniques. Whether you choose sanding, vapor smoothing, painting, epoxy coating, or filler primer, each method has its strengths.
The key to mastering finishing methods in 3D prints is practice. Begin with simple techniques and advance to more complex processes as you gain confidence. Start finishing like a pro today.

