3D Product Design is the structured process of creating a product using digital design and 3D modeling tools. It helps transform an idea into a physical object that is functional and ready for production. Companies use it to test concepts faster, reduce costs, and improve product quality.
Understanding the stages of 3D Product Design is essential. An idea starts small, then becomes a prototype, and finally a finished product. Each stage sharpens the design, solves issues, and makes sure it works as intended. This guide breaks the process into simple steps you can follow easily.
Stage 1: Concept Development
Every successful product begins with a clear idea. This is the stage where you set the direction for the design.
Here’s what usually happens:
- Define the purpose of the product.
- Learn what your customers need and expect.
- Review existing products to find gaps you can improve.
- Collect references and put early thoughts on paper.
The goal is to test if the idea makes sense and has real potential. A clear concept gives you direction and makes the following stages smoother.
Stage 2: Initial Sketches and Ideation
After you define the concept, it is time to put ideas down in a visible form. Most designers start with quick sketches to see what works and what doesn’t.
Here is what happens at this stage:
- Rough hand drawings or tablet sketches to capture ideas fast.
- Several versions of the same idea to compare and refine.
- Notes on how the product should function, not only how it looks.
- A shortlist of designs that are strong enough to move forward.
This stage is about freedom. You can test different options, throw away what feels weak, and keep the ideas that look promising.
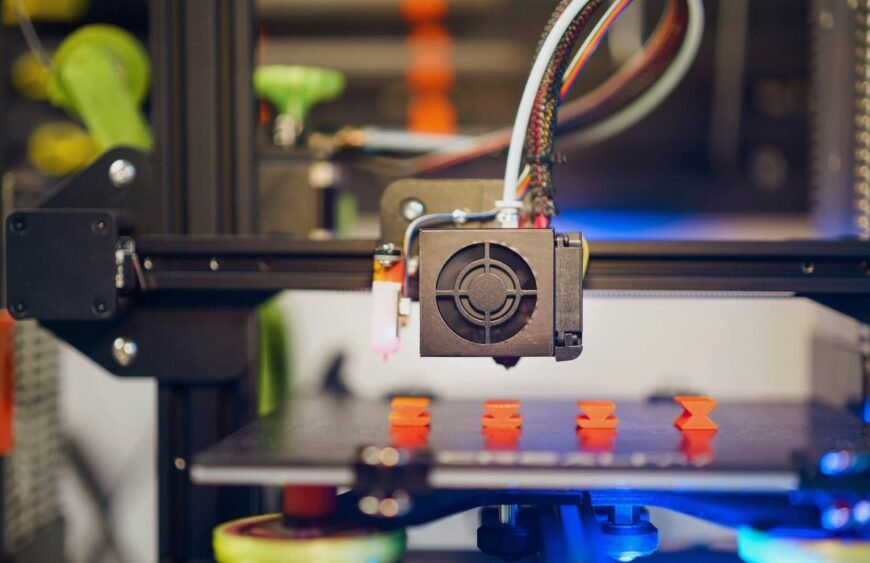
Stage 3: 3D Modeling
After sketches are complete, the design moves into 3D modeling. This is the point where the product begins to take real shape on screen.
In this stage you:
- Open CAD software and build the first digital model.
- Enter measurements so the size and proportions are correct.
- Look at the structure to see if it can hold up in real use.
- Refine details until the design looks right and works as planned.
3D modeling makes it easier to spot mistakes early. It also gives you a clear picture of how the product will look and function before you create a prototype.
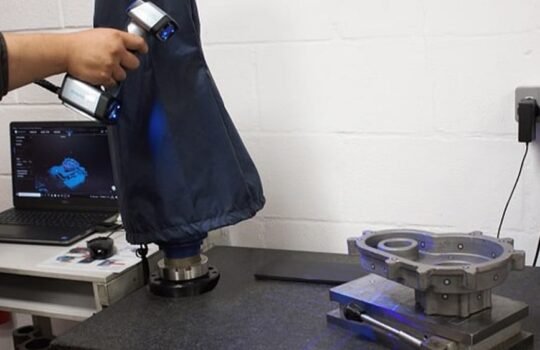
Stage 4: Simulation and Testing
When the model is ready, the design has to be tested to make sure it works as expected. This does not mean rushing to print a prototype. Instead, software can run tests on the design.
You might check how much weight it can handle, if parts line up the way they should, or if heat and pressure create problems. If something looks off, you go back into the model and adjust it.
Doing these tests on screen is faster and cheaper than finding mistakes after printing. It gives you a safer path before moving into the next stage.
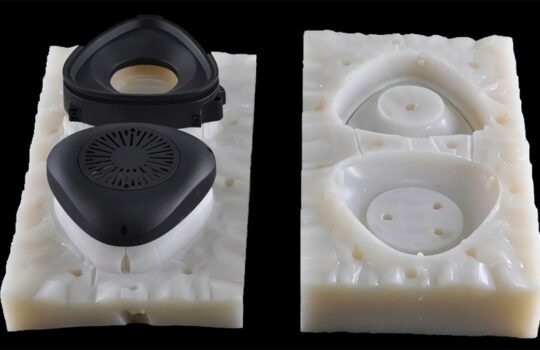
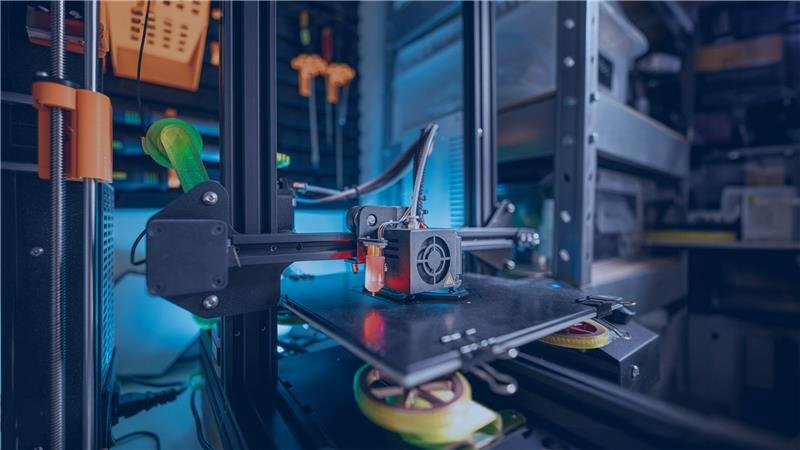
Stage 5: Prototyping
The next step is to build a prototype of the design. This is the first time you can hold the product in your hands and see how it feels.
A prototype helps you check the size, shape, and how the parts fit together. You often find small issues here that were not visible on screen. That is the point of this stage. It gives you the chance to fix problems before moving to production.
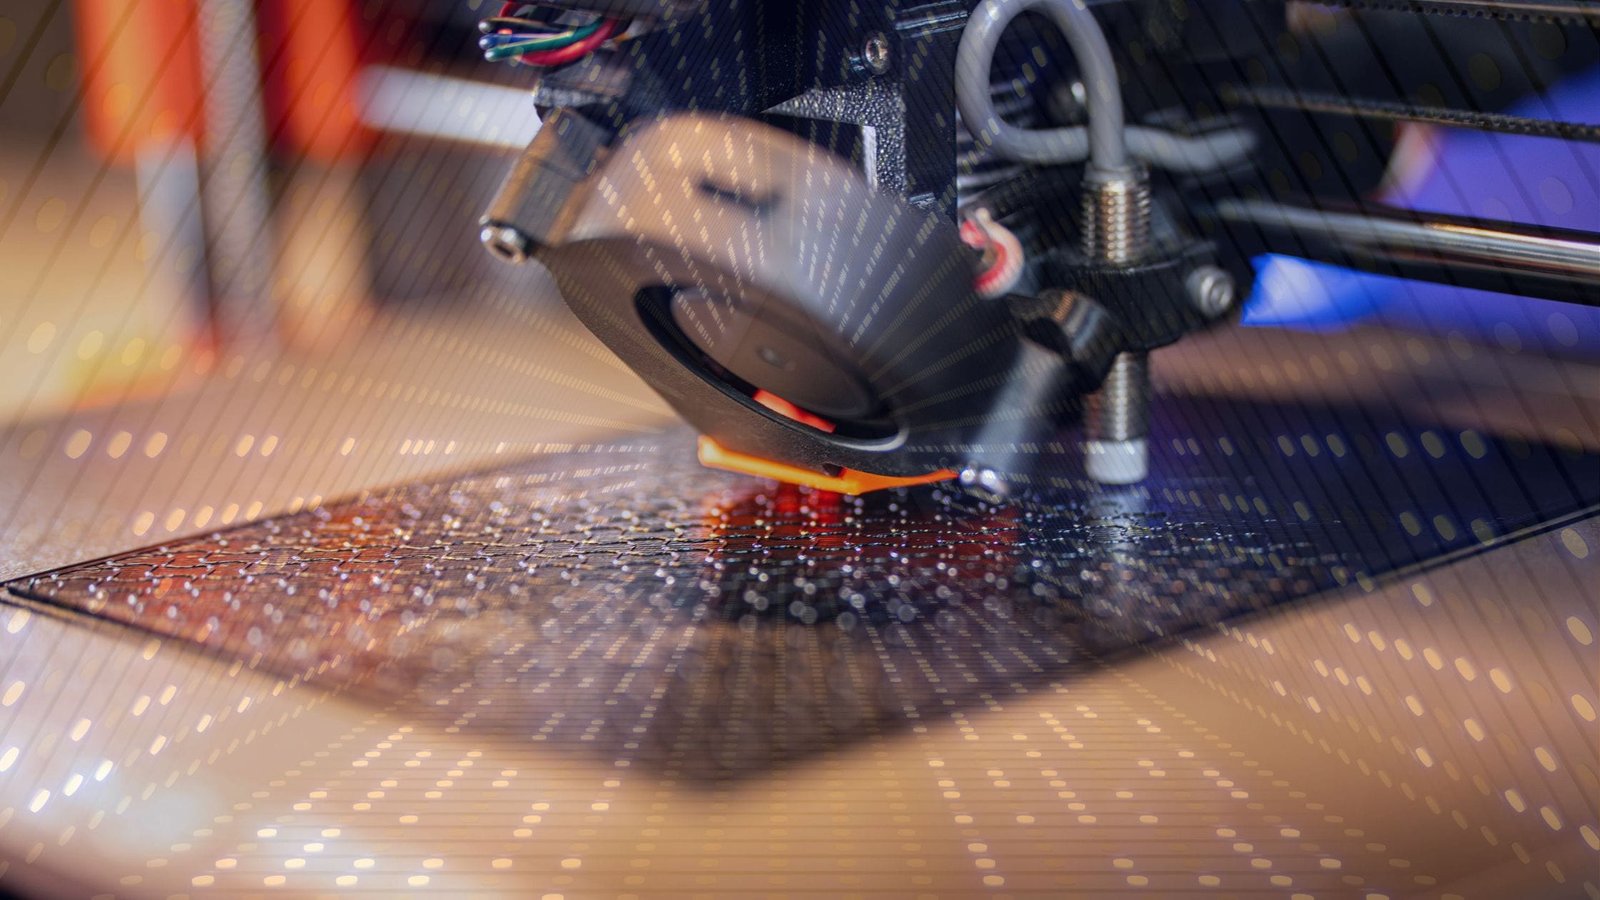
Most teams use 3D printing for this step because it is quick and affordable.
Stage 6: Refinement and Iteration
Testing a prototype almost always reveals something to change. It might be a small fit issue, or it could be the size, shape, or function. Adjustments are made to solve these problems and improve the design.
If the change is major, another prototype is built and tested. This step can be repeated a few times. The process continues until the product works well and feels ready for production.
Stage 7: Final Design and Production Preparation
Once the design feels complete, the focus shifts to production. The 3D model is updated with the latest changes. Files are prepared with measurements, materials, and assembly details. These instructions guide the manufacturer.
At this point, the design journey ends. What started as a rough idea is now ready to be made.
Conclusion
3D product design is done step by step. You start with an idea, build a model, test it, make a prototype, and fix the weak spots. Each stage gets you closer to a product that works.
By the end, the design is clear and ready to be produced.
Tesseract helps teams make that journey easier. If you have an idea, we can guide you from the first sketch all the way to production.