Stop motion animation is magic. Every frame takes time, patience, and precision. Building physical characters for animation has always been challenging, until 3D printing arrived.
3D printing transforms character creation. You can now design, print, and animate detailed puppets in days instead of weeks. Whether you’re a filmmaker, animator, or creative professional, 3D printing offers speed, accuracy, and unlimited design possibilities.
This guide shows you exactly how to create stunning 3D printed stop motion characters.
What is 3D Printing for Stop Motion?
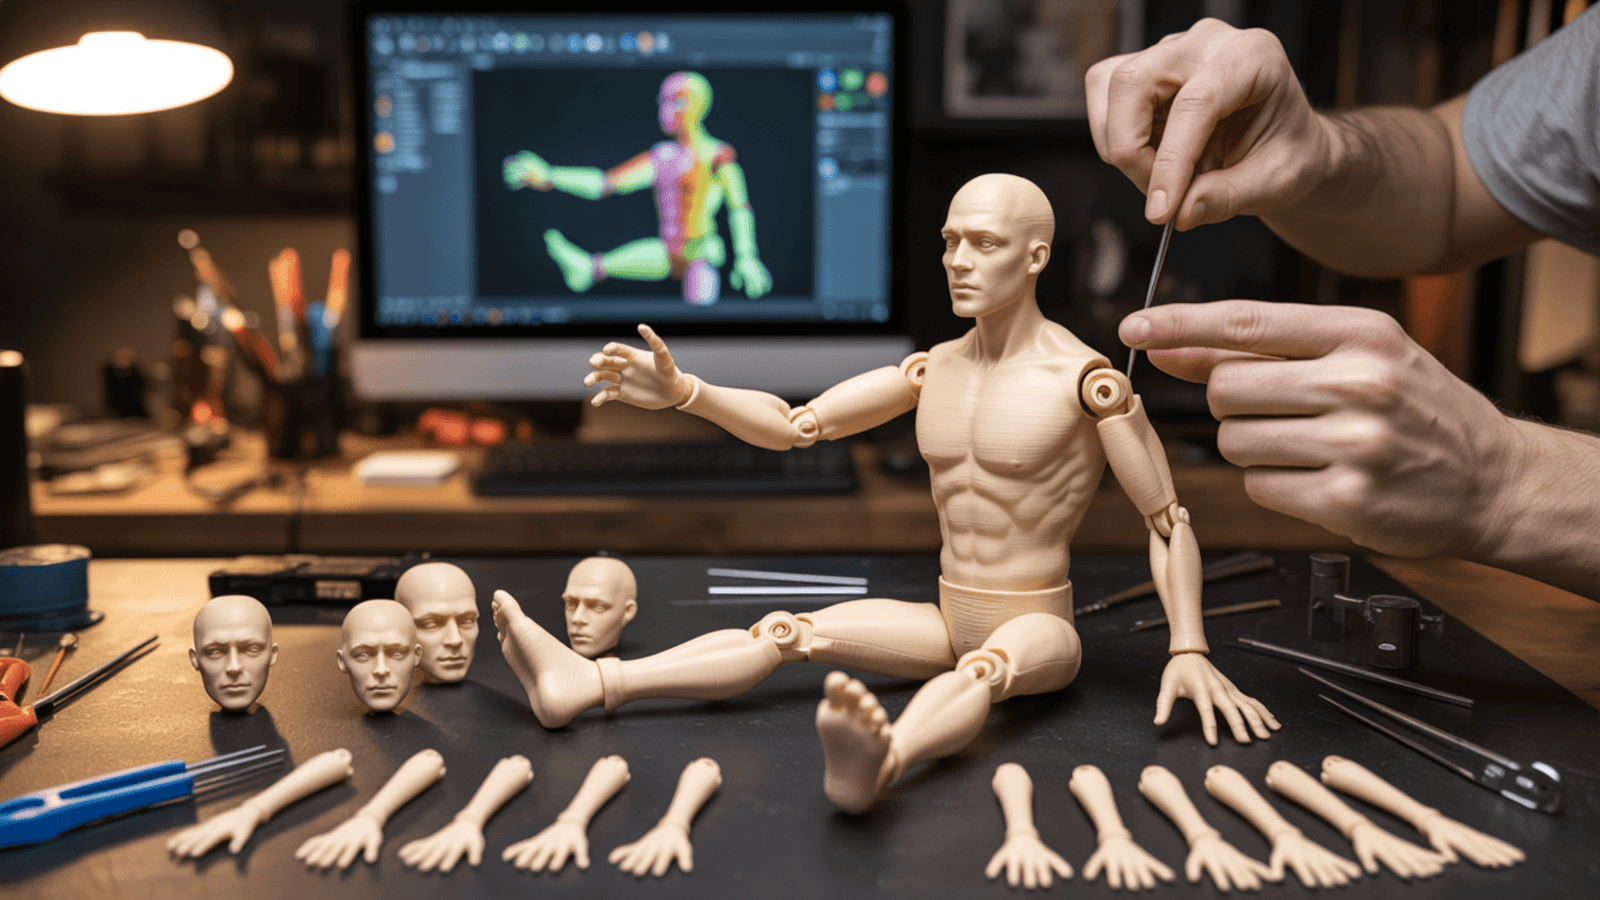
3D printing brings your character designs to life in plastic form. You design your character digitally. The 3D printer builds it layer by layer. The result? A precise, poseable puppet ready for animation.
Traditional puppets took weeks to sculpt and paint. You needed special skills. Materials were expensive. Mistakes meant starting over.
3D printing changes everything. You can print complex characters with intricate details in hours. You can modify designs instantly. You can create multiple variations of the same character. It’s faster, easier, and more flexible.
Why Use 3D Printing for Stop Motion Animation?
Here are the main reasons to adopt 3D printing:
- Speed – Print characters in 6-24 hours instead of weeks. Start the animation sooner.
- Precision – Every character has exact measurements. Consistency across all animation frames matters.
- Customization – Design any character you imagine. Unique features, specific expressions, custom proportions.
- Cost-Effective – Save money on production. Material costs are low. No need for expensive sculpting tools or training.
Stop motion creators use 3D printing to meet tight deadlines, stay within budget, and bring creative visions to reality.
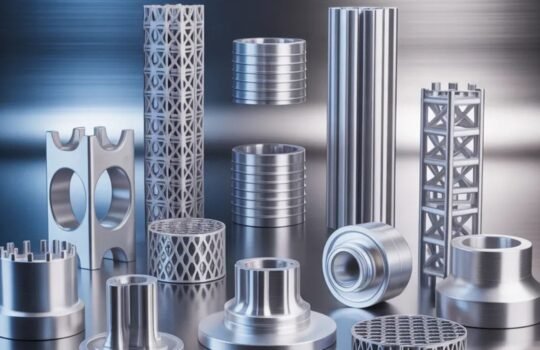
Best Materials for 3D Printing Stop Motion Characters
Choosing the right material makes a huge difference. Here’s what works best:
- Resin – Creates smooth, detailed characters. Perfect for facial features and fine details. Requires cleaning and post-processing.
- PLA/PETG – Durable and affordable. Works well for joints and articulation. Flexible enough for animation movements.
- TPU – This flexible plastic is ideal for moving parts. Characters can bend without breaking during shooting.
- Nylon – The strongest option. Best for complex armatures and high-impact joints. More expensive but extremely durable.
- Pro Tip: Mix materials. Use resin for detailed facial features. Use flexible TPU for joints and limbs. This combination gives you beautiful details plus smooth animation.
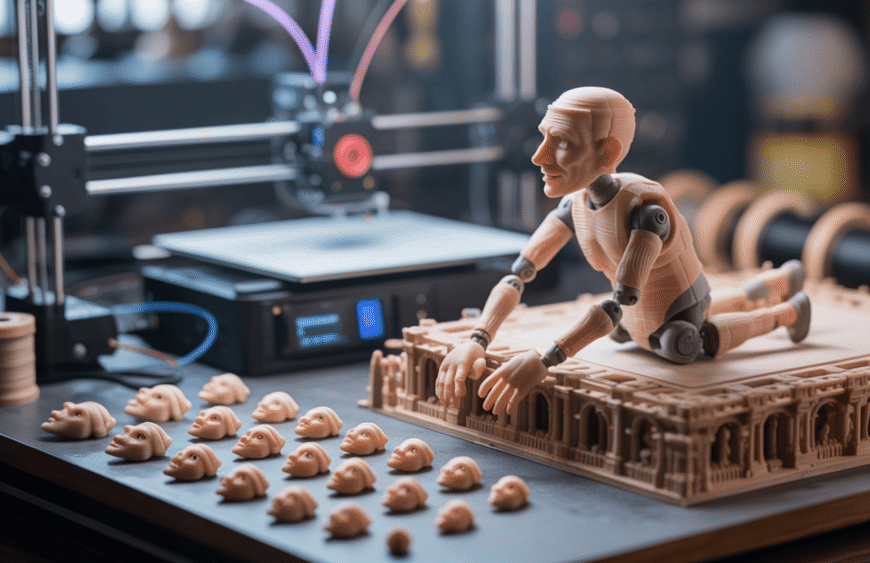
Step-by-Step Process for Creating 3D Printed Characters
Creating a 3D-printed character is straightforward. Follow these steps:
Step 1: Design Your Character
Use free software like Blender or Tinkercad. Paid options like ZBrush offer advanced features. Start simple. Design with animation in mind. Ensure joints can move freely.
Step 2: Prepare Your Files
Slice complex characters into separate pieces. Create realistic joints. Add support structures. Check file size and printability.
Step 3: Print With Care
Use appropriate layer height (0.025mm for fine details). Monitor print quality throughout. Follow material-specific settings for your printer.
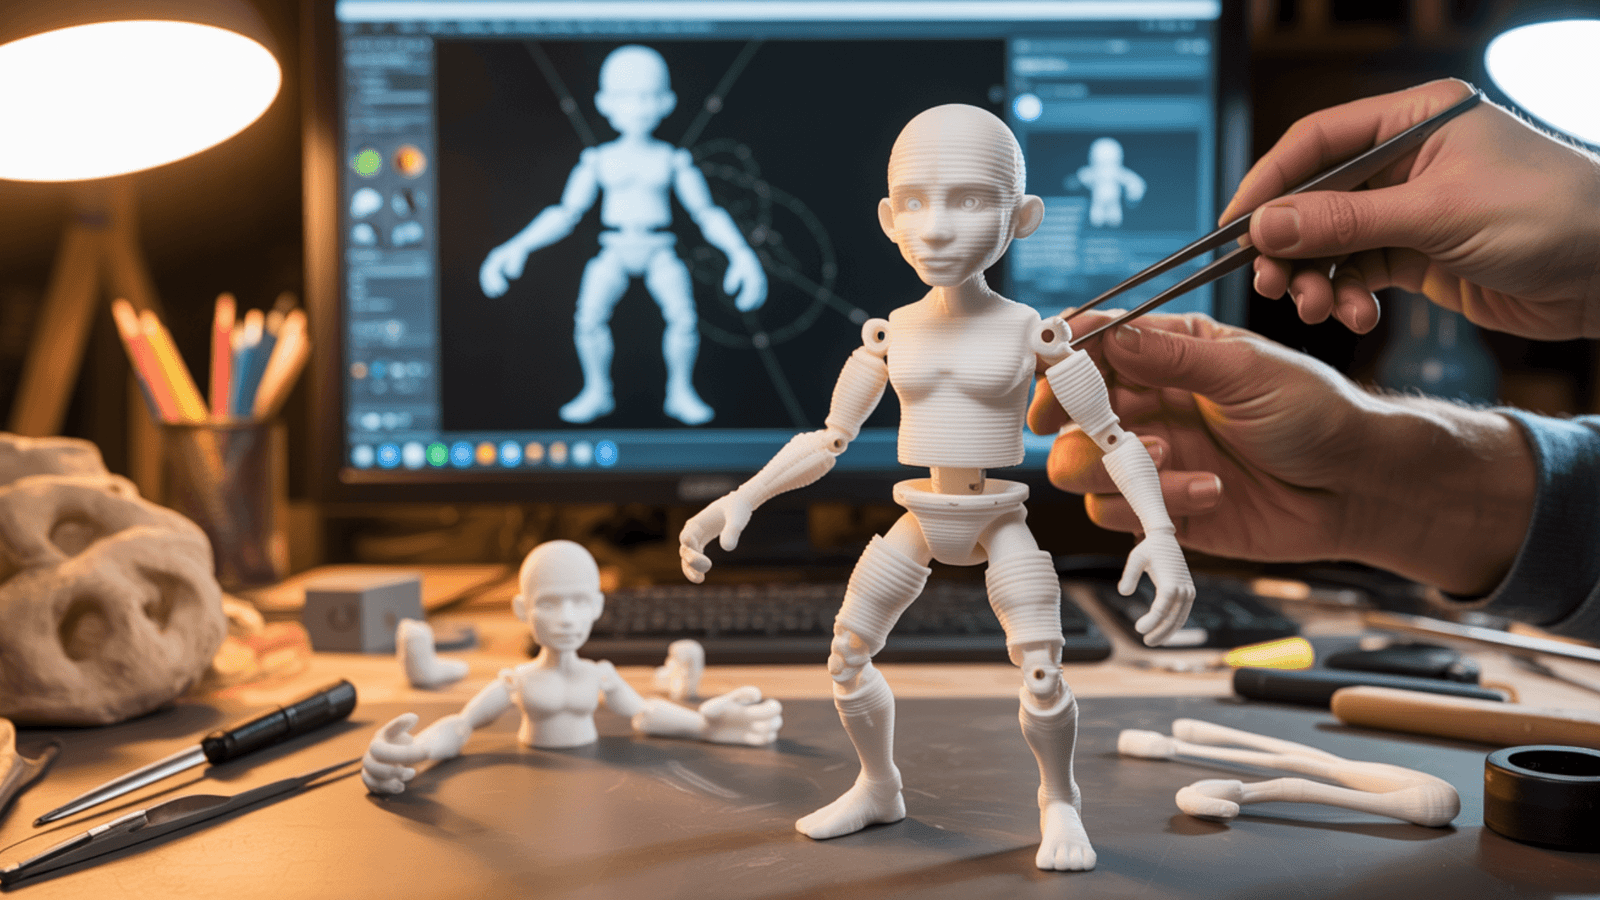
Step 4: Post-Process and Paint
Remove supports carefully to avoid damaging the character. Sand rough edges smooth. Prime the surface. Paint with flexible acrylic paint that won’t crack during animation.
Common Mistakes to Avoid
Learning from others’ mistakes saves time and money:
- Printing too small – Details disappear. Your character looks blurry on camera.
- Ignoring joint flexibility – Rigid materials break during animation. Use flexible materials for moving parts.
- Skipping support cleanup – Visible seams ruin footage. Spend time finishing details.
- Wrong material choice – The wrong plastic won’t animate smoothly. Test materials first.
- Poor weight distribution – Heavy characters topple over. Balance your character design.
Frequently Asked Questions
Q: How long does it take to 3D print a stop motion character?
A: Most characters print in 6-24 hours, depending on size and detail level.
Q: Can I animate characters with 3D printed joints?
A: Yes. Use flexible TPU or articulated PLA joints for smooth, natural movement.
Q: What software do I need for character design?
A: Blender (free), ZBrush, or Tinkercad work well. Choose based on your skill level.
Q: How do I make 3D printed characters look professional?
A: Post-processing and professional painting are essential. This step elevates quality dramatically.
Q: Is 3D printing cheaper than traditional stop motion puppets?
A: Yes. 3D printing costs ₹500-2,000 per character versus ₹5,000-15,000 for handmade puppets.
Conclusion
3D printing revolutionizes stop motion animation. It combines speed, precision, and creative freedom. Your characters can be anything you imagine, detailed, unique, and perfectly animated.
Whether you’re making indie films or professional projects, 3D printing saves time and money while expanding creative possibilities. Start small. Experiment with materials. Master the process. Your next stop-motion masterpiece is just a print away.
Ready to bring your characters to life? Tesseract offers professional 3D printing services for custom character designs and stop motion production needs.