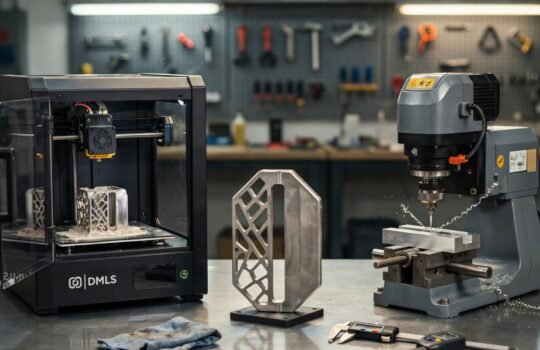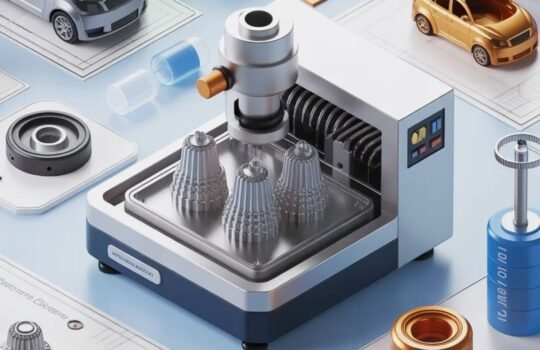
Selective Laser Sintering or SLS 3D printing is one of the most versatile and powerful additive manufacturing technologies available today. It allows for the creation of durable, complex parts without the need for support structures. However, to get the most out of SLS printing, it is essential to understand how to properly design your parts.
With the right design strategies, you can reduce material usage, speed up production times, and achieve high-quality functional components. This guide will share practical design tips that will help you succeed with SLS 3D printing.
What is SLS 3D Printing?
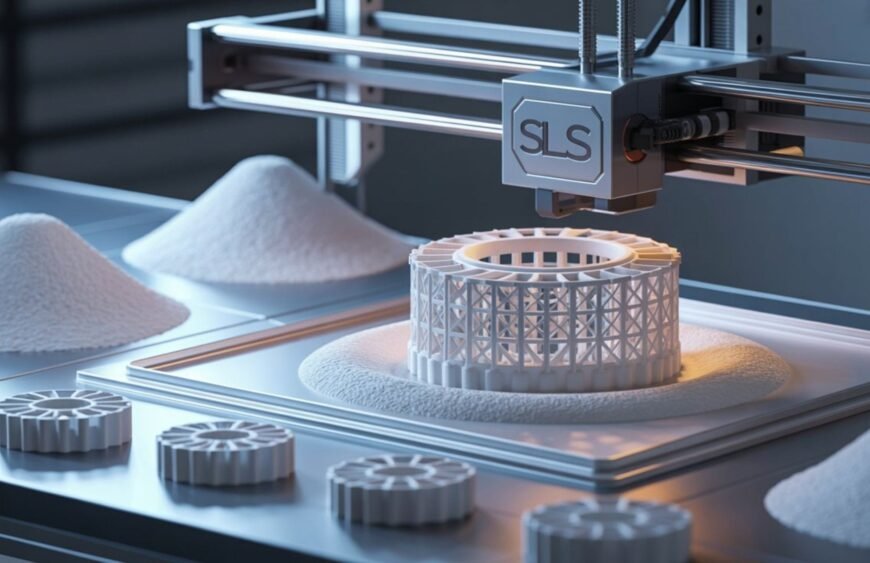
SLS 3D printing works by using a laser to selectively fuse powdered material layer by layer. The powder bed acts as a natural support for the printed part, making it ideal for complex geometries.
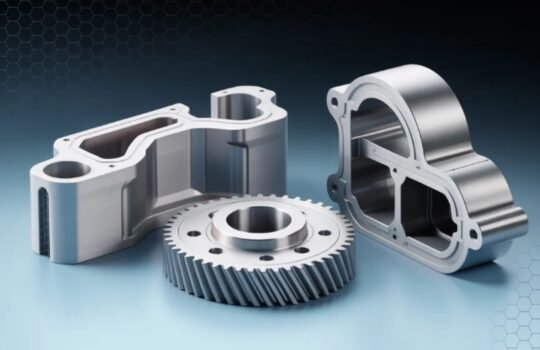
Common materials used in SLS include Nylon PA12, PA11, flexible TPU, and high-performance composites. SLS is widely used for prototyping as well as producing end-use parts due to its excellent mechanical properties and design flexibility.
Key Benefits of SLS Printing
- No need for external support structures
- Enables intricate internal channels and complex geometries
- Produces durable parts with high impact resistance
- Offers excellent thermal stability for functional applications
- Suitable for both prototypes and low-volume production
- Minimal post-processing required for finished parts
Essential Design Tips for SLS 3D Printing
1. Optimize Wall Thickness
Maintaining the right wall thickness is crucial for both strength and accuracy. The minimum wall thickness for SLS parts is usually around one millimeter, but it is recommended to go above 1.5 millimeters for better durability. Thin walls can lead to warping or breakages during post-processing, so always consider the functional requirements of your part.
2. Apply Uniform Wall Thickness When Possible
Parts with uneven wall thickness can cool unevenly and may result in internal stresses or warping. Wherever possible, try to maintain consistent wall thickness throughout your design to achieve smoother finishes and higher dimensional accuracy.
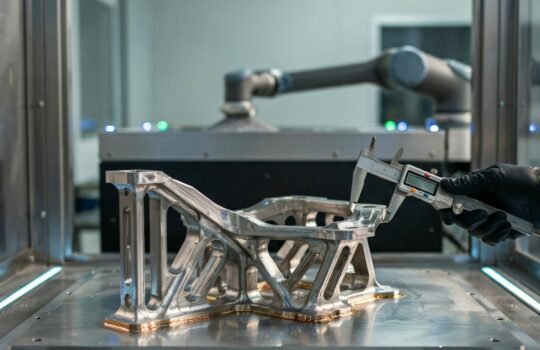
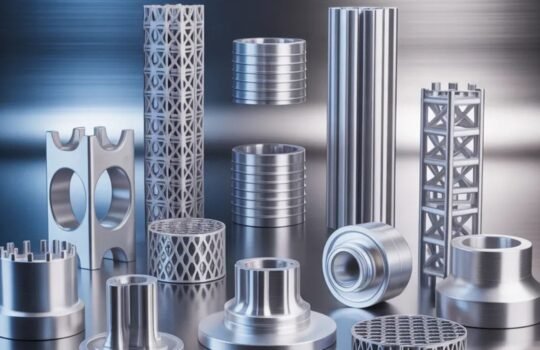
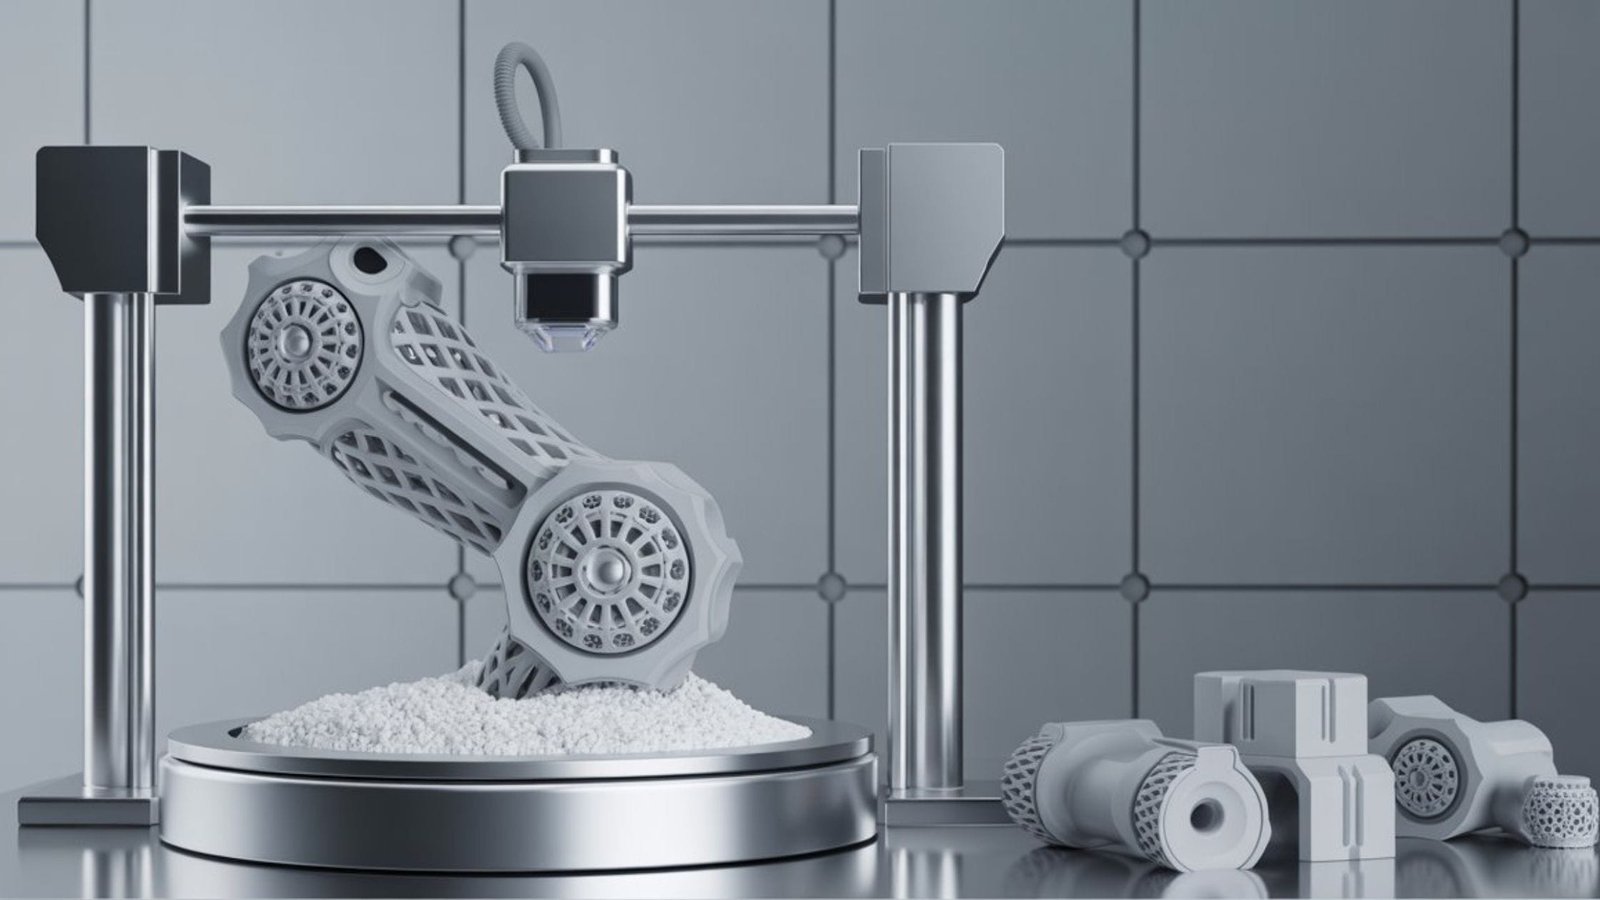
3. Embrace Freedom of Complex Geometries
SLS excels in producing parts with complex geometries. You can take advantage of design features like lattice structures, interlocking components, and living hinges. Designers often use SLS to create assemblies with moving parts straight out of the printer without additional assembly steps.
4. Account for Post-Processing Tolerances
SLS parts experience minor shrinkage and require cleaning to remove excess powder. It is good practice to allow at least 0.4 millimeters of clearance between moving parts. Understanding your manufacturer’s tolerance guidelines will help you avoid fitment issues during final assembly.
Common Design Mistakes to Avoid
- Thin unsupported features can easily break, so always follow minimum wall thickness guidelines.
- Sharp corners cause stress points and cracks; use fillets to smooth transitions.
- Sudden thickness changes lead to warping; keep transitions smooth and gradual.
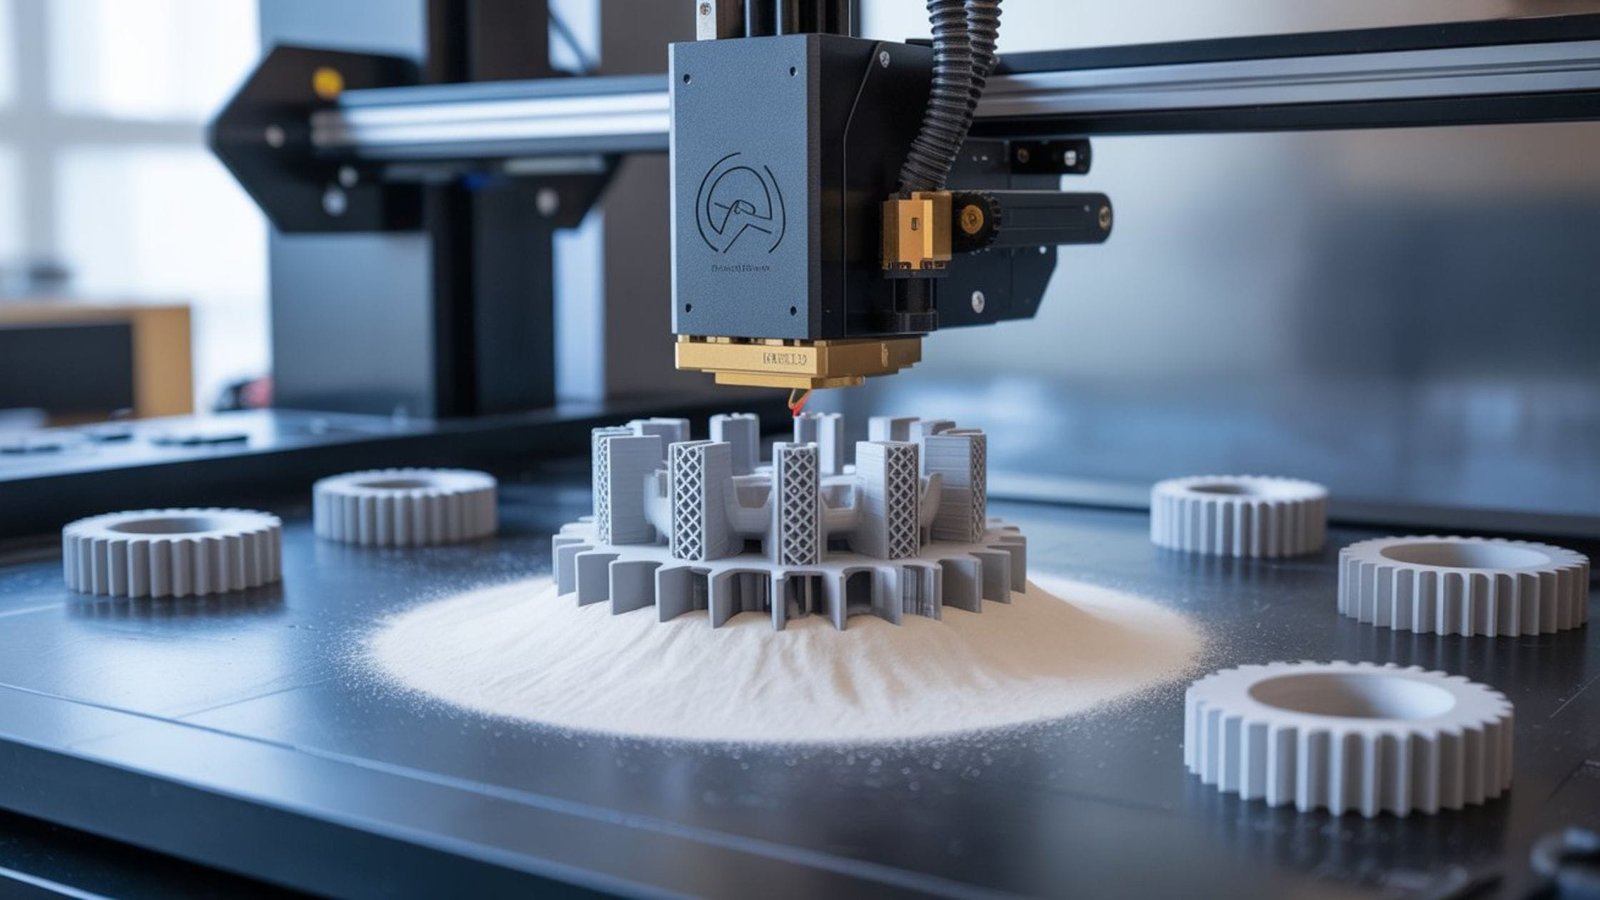
- No escape holes in hollow parts trap powder inside, making cleaning difficult.
- Incorrect clearances cause assemblies to fuse or not fit; always allow proper gaps.
Pro Tips for Achieving the Best Results
Leverage Design for Additive Manufacturing
Design for Additive Manufacturing or DfAM principles can help you reduce material usage while maintaining part strength. Techniques like honeycomb interiors or lattice structures help optimize weight and cost without sacrificing functionality.
Optimize Build Orientation
The orientation of your part in the build chamber affects mechanical strength, surface quality, and cost efficiency. Vertical orientation can improve strength along certain axes but may increase print time. Discussing build orientation with your SLS provider can lead to more cost-effective outcomes.
Use Hollowing and Escape Holes Strategically
Hollow parts can save material and reduce weight. However, it is important to include well-placed escape holes to allow unsintered powder to be removed. Proper hole placement ensures smooth powder removal and cleaner interior surfaces.
Designing Smarter for SLS Success
Designing for SLS 3D printing opens up many opportunities for innovation and manufacturing efficiency. By following these simple guidelines, you can reduce costs, avoid common pitfalls, and create highly functional products. Whether you are prototyping a new concept or producing final-use components, SLS offers unmatched design freedom.
For the best results, it always helps to collaborate with experienced partners like Tesseract, who can guide you through material selection, design adjustments, and production strategies.
With the right design mindset, you can unlock the full potential of SLS 3D printing.