Injection moulding is a powerhouse of modern manufacturing, an essential process that brings ideas to life in industries ranging from automotive to medical devices. As 3D printing professionals, understanding how injection moulding fits into the bigger picture can open new possibilities for scaling up your designs and achieving higher production volumes.
In this blog, we’ll walk you through the fundamentals of injection moulding, its key steps, advantages, and drawbacks, and how it complements 3D printing workflows for smarter, more efficient production. Let’s get started!
What is Injection Moulding?
Injection moulding is a popular manufacturing process that involves injecting molten material into a mould cavity. It’s one of the most widely used methods for producing plastic parts in large quantities. Unlike 3D printing, which builds parts layer by layer, injection moulding relies on creating a permanent mould that can be reused for thousands or even millions of parts.
How Injection Moulding Complements 3D Printing?
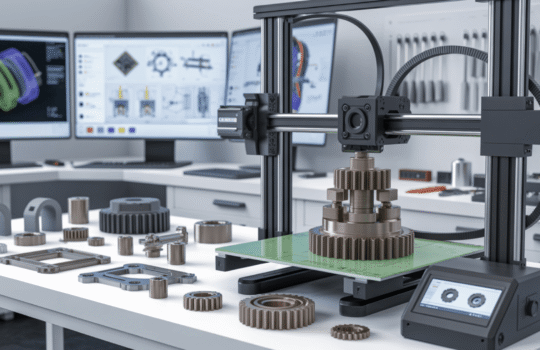
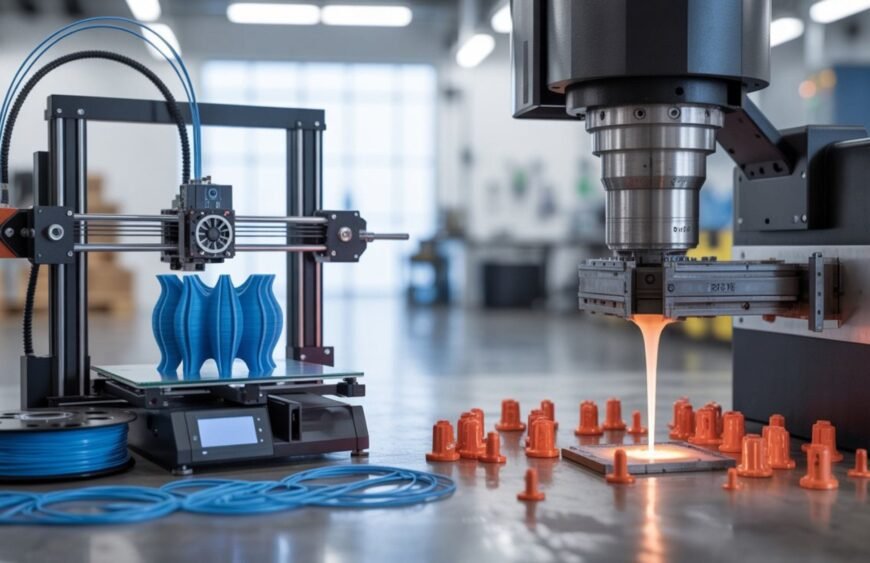
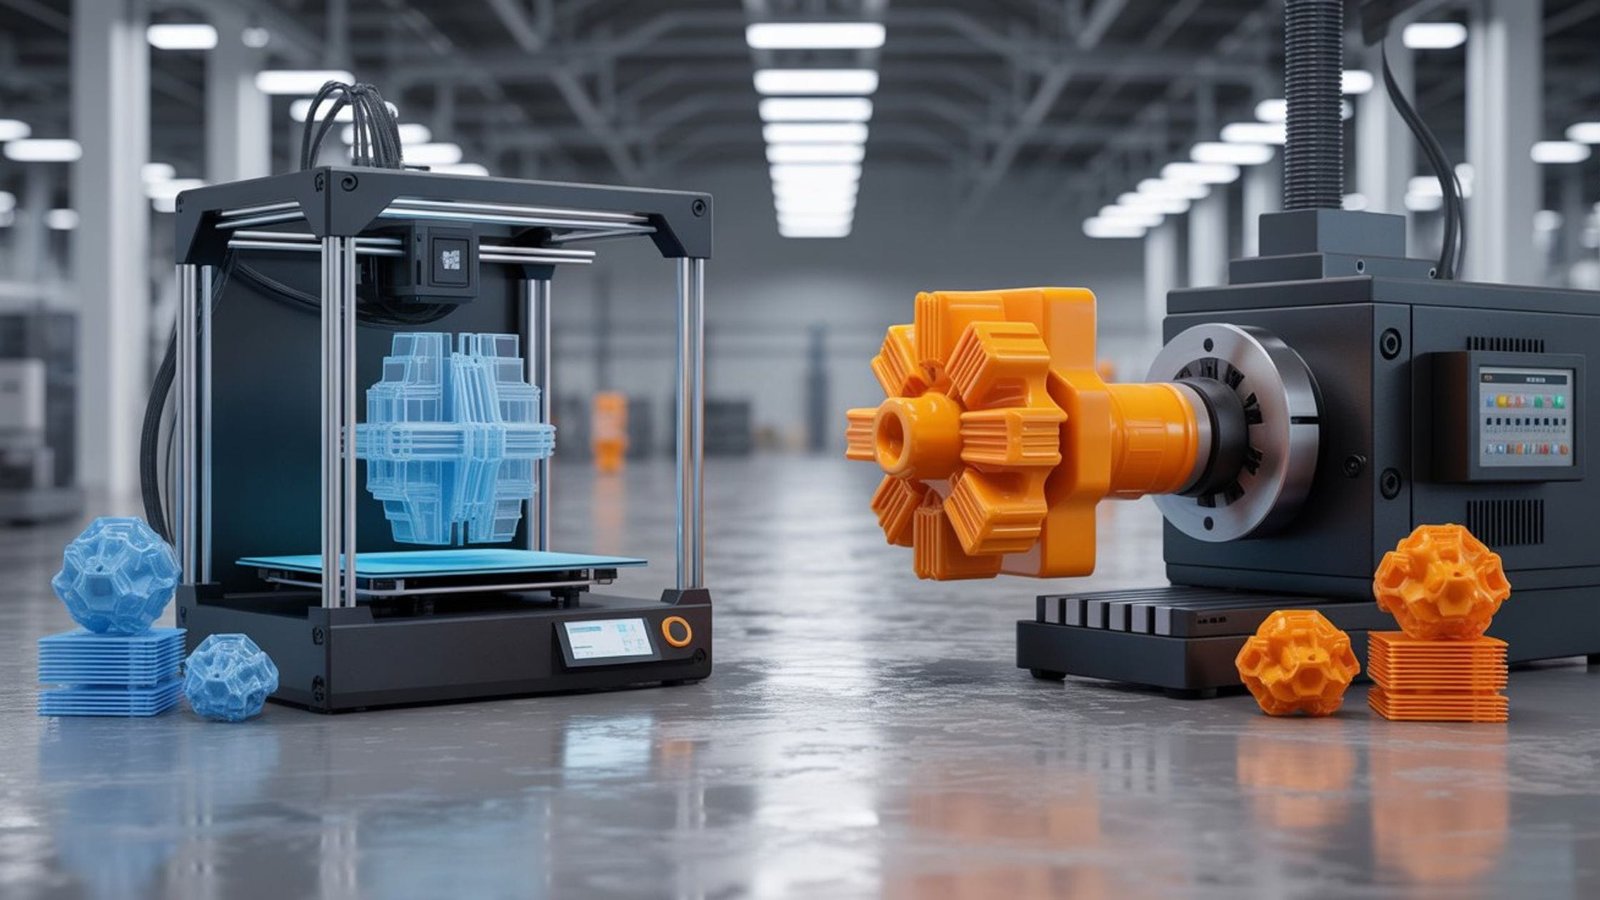
While 3D printing is ideal for prototyping and low-volume runs, injection moulding shines when it comes to mass production. Many product developers use 3D printing to create prototypes, test designs, and validate functionality. Once the design is finalised, they switch to injection moulding for consistent quality and faster production of high volumes.
The Injection Moulding Process
Let’s break down the process into easy-to-understand steps:
Step 1: Creating the Mould Tool
The first step is to create the mould itself. This is usually made from steel or aluminium and machined to precise dimensions. Mould tools typically include two halves that come together to form the final shape of the part.
Step 2: Material Selection & Preparation
Thermoplastics, such as ABS, polycarbonate, or nylon, are commonly used. These materials are chosen based on factors like strength, flexibility, and appearance. Plastic pellets are loaded into the injection moulding machine and heated until they become molten.
Step 3: Injection Process
The molten plastic is injected into the closed mould cavity at high pressure. This ensures that the material fills all the small details and corners of the mould.
Step 4: Cooling & Ejection
Once the plastic has filled the cavity, it’s left to cool and solidify. Cooling can take a few seconds to a few minutes, depending on the part’s size and material. After cooling, the mould opens, and an ejection system pushes out the finished part.
Step 5: Post-Processing & Finishing
After ejection, some parts may require minor post-processing, such as trimming excess material (known as flash) or surface finishing to meet appearance standards.
Advantages of Injection Moulding
Injection moulding brings several key advantages, especially for those moving from prototyping to production:
- High-Volume Efficiency: Once the mould is ready, producing large quantities of parts is fast and cost-effective.
- Consistent Quality: Injection moulding ensures uniformity in every part, making it easier to maintain tight tolerances and repeatable performance.
- Material Versatility: Many thermoplastics are compatible with injection moulding, offering flexibility in selecting the right material for your application.
- Surface Finish: Injection-moulded parts typically have excellent surface finish, reducing the need for additional finishing processes.
Disadvantages and Considerations
Of course, injection moulding isn’t perfect. Here are a few considerations:
- High Initial Tooling Costs: Creating a mould tool is expensive and time-consuming. This makes injection moulding less practical for very low-volume production.
- Design Constraints: Complex geometries that are easy to achieve with 3D printing can be difficult to mould. Part designs may need to be adjusted for manufacturability, which can limit creativity in some cases.
- Longer Lead Times for Tooling: While actual part production is fast, designing and machining the mould can take weeks or even months.
When to Choose 3D Printing Over Injection Moulding
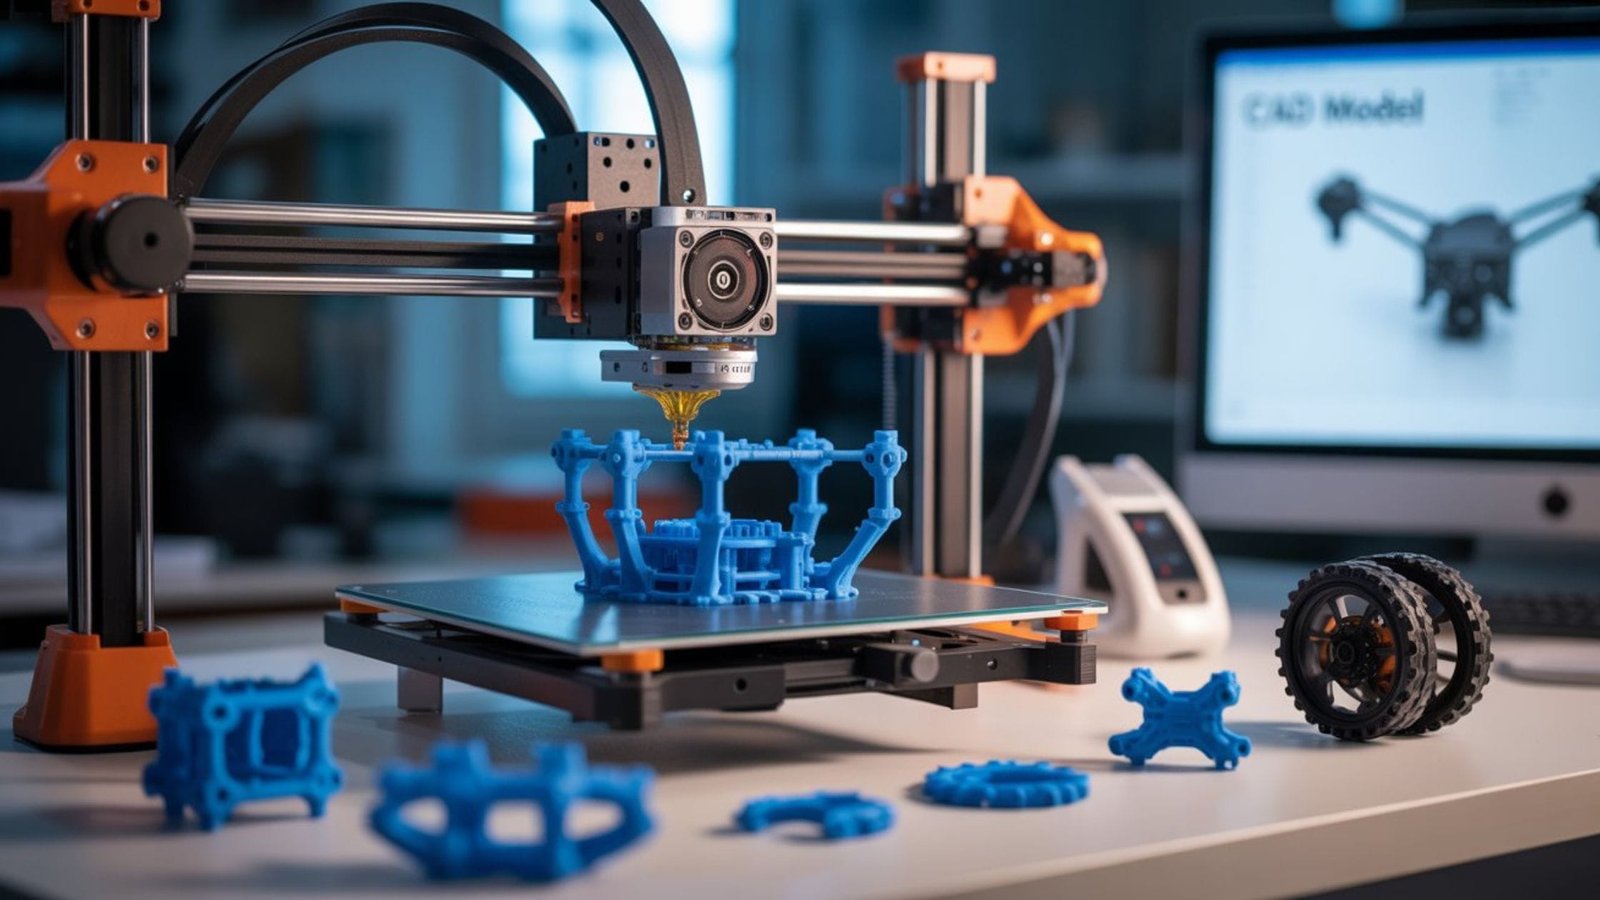
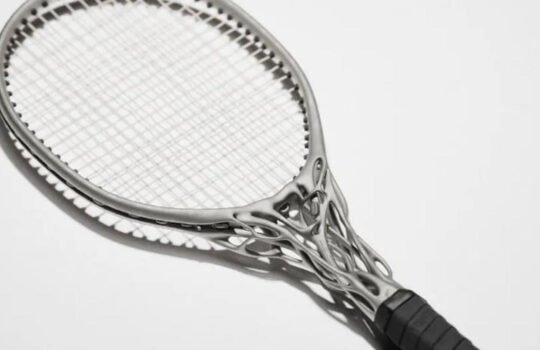
For rapid prototyping, low-volume production, or intricate designs that would be too costly to mould, 3D printing remains the preferred choice. It’s faster, more flexible, and cost-effective for these scenarios.
Key Applications and Industries
Injection moulding is used in a wide range of industries, including:
- Automotive: Parts like dashboards, trim panels, and functional clips.
- Consumer Electronics: Housings for gadgets, connectors, and internal brackets.
- Medical Devices: Sterile, precise components for healthcare.
- Packaging: Caps, containers, and closures that need to be produced in large quantities.
Making the Right Choice for Your Project
Both 3D printing and injection moulding have important roles to play in product development. 3D printing is perfect for iteration, testing, and short runs, while injection moulding takes over when you need to produce parts at scale.
At Tesseract, we’re here to help you navigate both worlds, offering 3D printing for your prototypes and small-batch production, and injection moulding for your high-volume needs. Reach out to our team to see how we can bring your ideas to life!